Broken Line of Sight: How to Make Sniper Tactics Look Outdated in Alpha Strike
We’ve all been there at the game table: Your opponent places a heavy ranged mech or a nasty Skill 2 sniper on a hill that has a perfect line of sight across half the battlefield. Every time you try to capture a mission objective, you take damage from a distance.
Having snipers control key areas is extremely effective—but it’s absolutely no reason to despair. In this article, I’ll show you how to analyze this zone-control tactic and completely neutralize it with the right maneuvers.
In a Nutshell: What Is the Sniper Tactic?
In this tactic , the opponent uses long-range units (often equipped with weapons such as Gauss cannons, ER heavy lasers, or LRM launchers) and positions them defensively on elevated ground or at the back of the battlefield.
The goal isn’t necessarily to destroy all your mechs right away, but rather to control the area (area denial). The enemy forces you to take risky paths, waste valuable turns taking cover, or let your units get wiped out one by one in the open, while he comfortably racks up mission points.
Your Counterattack Strategies: How to Break the Siege
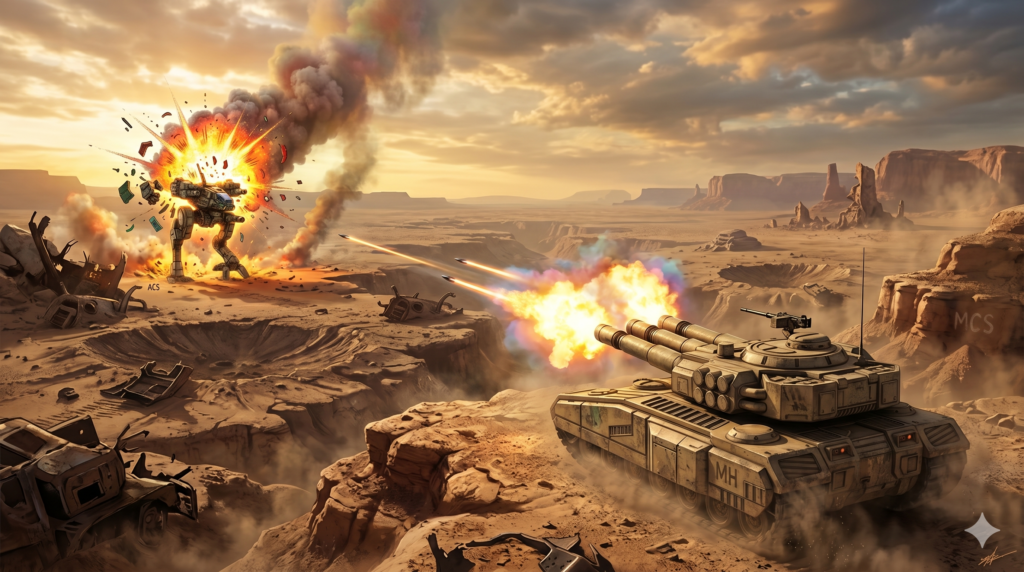
To take down a sniper, you need to dictate the pace of the game instead of getting caught up in a long-range duel. Here are my three most proven tactics for your next Alpha Strike matches:
1. The “Speed Blitz” (Maximize the Target Movement Modifier)
Snipers hate one thing above all else: low hit chances. When a sniper relies on range, he expects a low minimum roll.
- Strategy: Use fast, light- to medium-weight mechs or hovercrafts with a high TMM (Target Movement Modifier) of +3 or higher.
- The result: If you charge at the sniper at full speed, he has little chance of taking you out quickly. As soon as you reach short range, the sniper often loses his advantage and may even have less firepower at that distance. Now you’re the one calling the shots.
2. The “Dead Zone” (Line of Sight Blocking)
The best defense against a sniper is the layout of the playing field. If he can’t see you, he can’t shoot you.
- How to do it: Analyze the terrain ahead of your move. Move your main force only behind dense forests or massive buildings and mountains. Use the concept of the “dead zone”—areas that the sniper simply cannot see from his position due to changes in elevation.
- The result: You force your opponent to give up their perfect position and move in order to regain a line of sight (LOS). A sniper who has to move loses their attack bonus (Standstill).
3. Indirect Fire (IF) and Spotting
Why storm the position when you can turn the tables? When the sniper is crouched motionless on his hill, he’s the perfect target for indirect fire.
- How to do it: Keep your heavy LRM carriers (e.g., a Catapult or Archer) safely hidden behind full cover. Send a small, agile unit—or simply a good TMM—to the front to briefly “spot” the sniper.
- The result: Your rocket mechs rain death and destruction down on the sniper, without ever giving him a chance to fire back at the attackers. This forces even the most stubborn sniper to retreat.
A Direct Comparison of the Tactics
Here’s a quick overview of when it’s best to use which tactic:
| Tactics | Ideal for… | Risk | Core Requirement |
| Speed Blitz | Individual, slow snipers (e.g., Dire Wolf or Shreck PPC). | Open terrain on the way to the finish line. | High TMM for your own units. |
| Dead Zone | Sniper teams that cover large areas. | Time lost due to detours. | Good terrain density on the table. |
| Indirect fire | Stationary snipers without their own missile defense. | The spotter could be shot down. | Units with the Indirect Fire (IF) ability. |
My personal expert tip: Don’t let yourself get provoked! The biggest mistake you can make against snipers is to stop in your tracks out of frustration and start a long-range duel. Unless your lance is specifically designed for extreme range, you’ll almost always lose that exchange. Move strategically, use the mission objectives, and force the sniper to come to you.
Transparency notice on the use of AI (in accordance with the EU AI Act):
The content of this blog is personally conceived, researched and defined by me. I use generative artificial intelligence to help me formulate and structure the texts.
Why? This enables me to prepare complex issues more precisely and to focus fully on the quality of the content and research. The final editorial control and responsibility for all published content lies solely with me.
Together for better content!
This blog is a project of the heart that can only continue to grow with your help. Every comment, every recommendation – and especially your financial support – secures the future of this platform.
Do you want this content to remain freely accessible?
This is how you can support the mission:
- NEWSLETTER REGISTRATION: Become part of the fast-growing community and never miss an update again!
- BECOME A PATREON MEMBER: Join the inner circle and get access to exclusive material and early releases.
- OTHER SUPPORT: Whether it’s a donation, sharing a post or recommending the blog to others – every form of support counts!
Let’s make this blog an even better place together!

Ich bin Sören Spieckermann, der Kopf hinter mechstrategen. Seit Jahren faszinieren mich taktische Tabletop-Schlachten und die strategische Tiefe von Mechs. Ob schnelle Gefechte in Halo: Flashpoint oder epische Schlachten bei BattleTech Alpha Strike – hier teile ich meine Erfahrungen und Taktiken mit dir. Mein Ziel? Sowohl Einsteigern den Start zu erleichtern als auch alten Hasen neue Impulse für das nächste Match zu geben.