Two lances, twice the fun: The leap to the two-lance system
Hello and welcome back to mechstrategen.de! In our last article, we took an in-depth look at the perfect solo lineup and explored how you can get the most out of your games with just four ‘Mechs—whether as a specialized team or an all-around lineup. If you haven’t read that guide yet, be sure to check it out, because the roles discussed there form the foundation for everything that’s coming up.
Today, we’re doubling down! As the battlefield gets bigger and you increase the point total to a typical range of 200 to 300 PV, a single lance is often no longer enough. Now comes the most exciting part of BattleTech: Alpha Strike for you: the interplay of different lance formations (also referred to as “formations” in the rulebook).
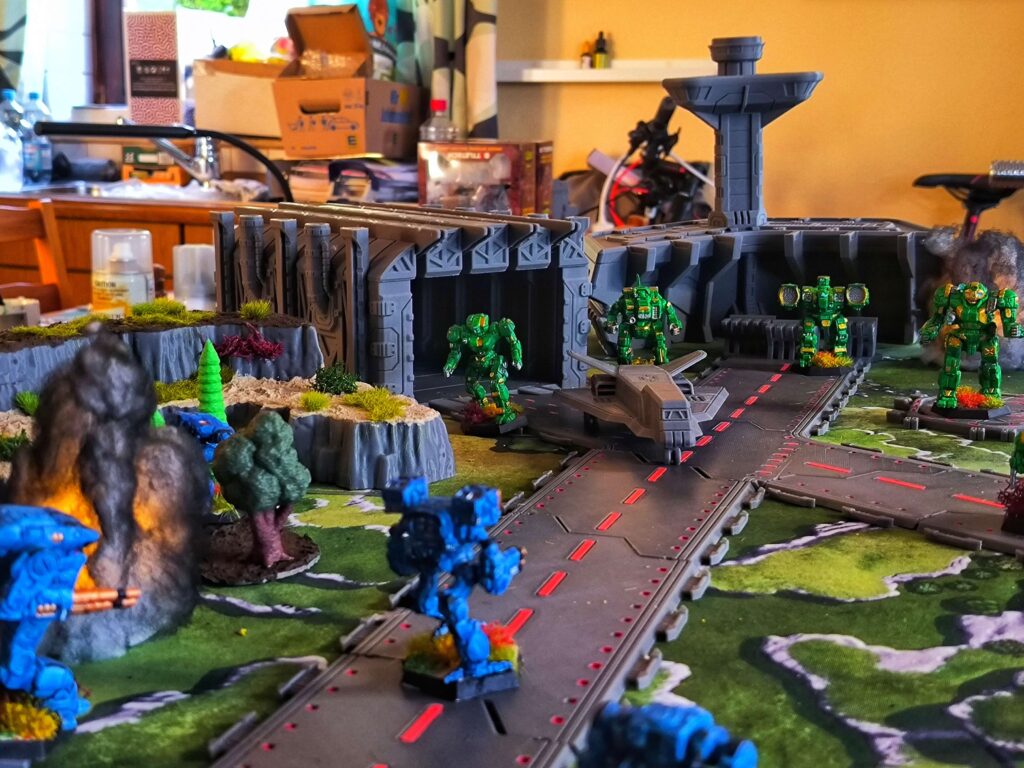
If you’re fielding two lances in battle, you no longer have to force your units into a single, rigid framework. Instead, we assign each lance a higher-level strategic role. For an absolutely deadly yet easy-to-learn starting strategy, I recommend combining a sturdy Battle Lance (the anvil) with a lightning-fast Striker/Cavalry Lance (the hammer). I’ll explain the details of this strategy in this post.
Lance 1: The Battle Lance (“The Unyielding Anvil”)
The Strategic Role: This battle lance forms the solid core of your army. Its mission is to advance, secure mission objectives in the center of the table, absorb the enemy’s heaviest fire, and in turn inflict maximum damage. A Battle Lance traditionally consists of heavy, well-armored units.
The Lineup (Example – 142 PV)
- Marauder MAD-3R (Sniper – 35 HP)
- Thunderbolt TDR-5S (Brawler – 36 HP)
- Warhammer WHM-6R (Brawler – 32 HP)
- Awesome AWS-8Q (Sniper – 39 HP)
Why this compilation?
For beginners, this lineup is a dream in terms of reliability. All four ‘Mechs have a movement rate of 6″ or 8″, which means they can move forward perfectly in unison as a tight phalanx. They all share the profile of heavy brawlers or snipers.
- The synergy effect: When playing under the expanded campaign rules, an official Battle Lance often grants its members bonus abilities such as “Lucky ” (which allows them to reroll failed hit rolls). This makes these already accurate ‘Mechs even more ruthless. They march straight toward the enemy and force them to engage.
Lance 2: The Striker/Cavalry Lance (“The Deadly Hammer”)
The strategic role: While the Battle Lance ties down the enemy’s attention, the Striker/Cavalry Lance strikes where it hurts most. Its tasks include flanking attacks, hunting down enemy support Mechs (Snipers), and quickly capturing distant mission objectives. It consists of fast, mobile units that can deal heavy damage as they pass by.
The Lineup (Example – 106 PV)
- Phoenix Hawk PXH-1 (Skirmisher – 26 HP)
- Griffin GRF-1N (Sniper – 31 HP)
- Wolverine WVR-6R (Skirmisher – 30 HP)
- Locust LCT-1E (Scout – 19 PV)
Why this compilation?
This Lancer relies entirely on the Speed attribute. The slowest ‘Mech here moves 10″, while the Phoenix Hawk and the Griffin also have jump jets (j) that allow them to easily leap over hills and buildings.
- High TMM (Target Movement Modifier): Beginners often underestimate how important movement is as a form of armor. Due to their high speeds, these ‘Mechs almost always generate a modifier of +2 to +3 when they move. This means it’s incredibly difficult for the opponent to hit them.
- The Striker Advantage: Unlike purely defensive scout units, these variants (such as the Locust-1E with lasers instead of machine guns or the Griffin with its KSR/LSR combination) have enough firepower to deliver the finishing blow to damaged enemy mechs.
Teamwork: The Tactics for Two Lances
When you set up both spears, you have to think of them as two arms of the same body. They must not operate completely independently of each other, but must pass the ball back and forth to each other.
Step 1: Secure with the Battle Lance
Place your Battle Lance in the center of your deployment zone. Have it advance directly toward the most important objective or the heaviest concentration of enemy ‘Mechs. The enemy will see the monstrous firepower of Awesome and Marauder and will instinctively deploy its own heavy units against them. Your Battle Lance will absorb this pressure thanks to its thick armor.
Step 2: Using the Striker Lance
Keep your Strikers/Cavalry Lance ready on one of the outer flanks. Use forests or hills to block the line of sight as you maneuver around the enemy army with a movement of 10″ or more.
Step 3: The Coordinated Strike
As soon as your opponent is locked in a clash with your Battle Lance, the Striker Lance bursts out from cover.
- The Locust and the Phoenix Hawk sprint behind the enemy mechs to gain the rear-attack bonus (+1 damage).
- At the same time, Griffin and Wolverine fire as they move.
The enemy faces a tactical dilemma: If he turns around to fight the fast Plagemisters at his back, he exposes his vulnerable rear to your heavy Battle Lance. If he ignores the Striker Lance, he’ll be methodically shot to pieces from behind.
Conclusion for Beginners
Controlling two lances takes Alpha Strike to a whole new strategic level without making the game any more complicated. To start with, just keep this rule of thumb in mind: The Battle Lance wins the room; the Striker Lance wins the game.
Transparency notice on the use of AI (in accordance with the EU AI Act):
The content of this blog is personally conceived, researched and defined by me. I use generative artificial intelligence to help me formulate and structure the texts.
Why? This enables me to prepare complex issues more precisely and to focus fully on the quality of the content and research. The final editorial control and responsibility for all published content lies solely with me.
Together for better content!
This blog is a project of the heart that can only continue to grow with your help. Every comment, every recommendation – and especially your financial support – secures the future of this platform.
Do you want this content to remain freely accessible?
This is how you can support the mission:
- NEWSLETTER REGISTRATION: Become part of the fast-growing community and never miss an update again!
- BECOME A PATREON MEMBER: Join the inner circle and get access to exclusive material and early releases.
- OTHER SUPPORT: Whether it’s a donation, sharing a post or recommending the blog to others – every form of support counts!
Let’s make this blog an even better place together!

Ich bin Sören Spieckermann, der Kopf hinter mechstrategen. Seit Jahren faszinieren mich taktische Tabletop-Schlachten und die strategische Tiefe von Mechs. Ob schnelle Gefechte in Halo: Flashpoint oder epische Schlachten bei BattleTech Alpha Strike – hier teile ich meine Erfahrungen und Taktiken mit dir. Mein Ziel? Sowohl Einsteigern den Start zu erleichtern als auch alten Hasen neue Impulse für das nächste Match zu geben.