The Company Is Ready: The Three-Step Orchestra
In our last post on force-building for beginners, we took the plunge and doubled our force to two lances. We learned how to pin down the enemy with a sturdy Battle Lance acting as an anvil, and then smash them from the flank with a lightning-fast Striker/Cavalry Lance acting as a hammer.
Today, we’re taking our game to the next monumental level. As your game collection grows and the battles take on epic proportions—often with a budget of 300 to 450 PV —it’s time for the big moment in tabletop wargaming: You’ll lead an entire company into battle!
A company in the Inner Sphere consists of about three lances (a total of 12 ‘Mechs). What might seem like a logistical nightmare to beginners at first glance turns out, with the right structure, to be the ultimate sandbox for strategic geniuses.
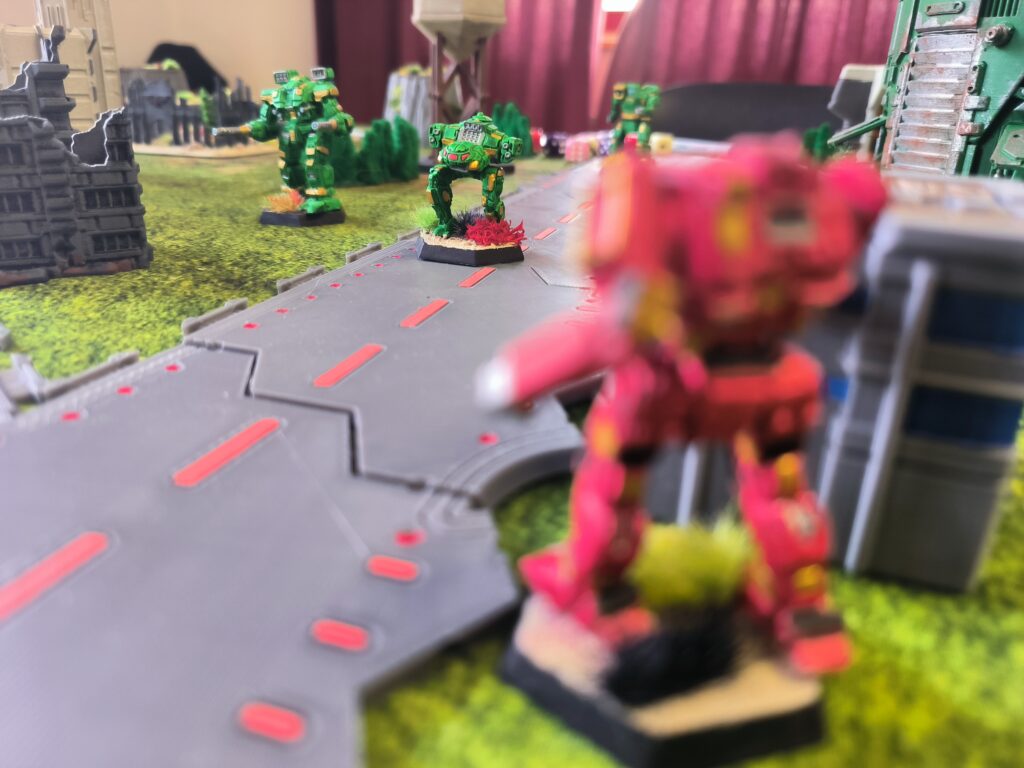
By dividing the battlefield into three distinct areas of responsibility, your company will run like a well-oiled machine. We’re taking the tried-and-true duo ofthe Battle Lance andStriker/Cavalry Lance and expanding it with a deadly, long-range element: a Fire Support Lance.
Lance 1: The Battle Lance (“The Unshakable Center”)
The Mission: The Anvil. This unit marches inexorably through the center of the battlefield, drawing enemy fire and tying down the opponent’s main force. It breaks through the enemy line with sheer mass and durability.
The Lineup (Example)
- Atlas AS7-D (Juggernaut – 52 PV)
- Thunderbolt TDR-5S (Brawler – 36 HP)
- Marauder MAD-3R (Sniper – 35 HP)
- Warhammer WHM-6R (Brawler – 32 HP)
Why this compilation?
This is pure, brute-force armor. Led by the legendary 100-metric-ton Atlas, this spear has enough structure and armor points to withstand even the heaviest sustained fire for several rounds. All units move at a similar pace (6″ to 8″), allowing them to act as a solid wall. They psychologically force the enemy to expend their resources on this “armor sponge.”
Lance 2: The Fire Support Lance (“The Long Arm”)
The Mission: The Shield from a Distance. While the Battle Lance advances, this lance takes up positions on hills or behind safe cover in its own deployment zone. Its task is to support the Battle Lance’s advance with heavy long-range fire and to take out high-value targets at long range (L).
The Lineup (Example)
- Catapult CPLT-C1 (Missile Boat – 32 HP)
- Archer ARC-2R (Missile Boat – 39 HP)
- Awesome AWS-8Q (Sniper – 39 HP)
- Blackjack BJ-1 (Sniper – 26 HP)
Why this compilation?
This lance is optimized for maximum range. With its three PPKs (particle cannons), the Awesome delivers brutal, reliable 3-point damage from long range without ever running out of ammo.
- The Core Feature – Indirect Fire: Both the Archer (
IF2) and the Catapult (IF1) are equipped with powerful LRM long-range missiles. This means they don’t even have to see the enemy to fire on them. They lurk behind a mountain and rain down destruction while remaining completely out of the enemy’s reach. The Blackjack serves as an affordable backup to fend off pesky aircraft or fast scouts.
Lance 3: The Striker/Cavalry Lance (“The Deadly Hammer”)
The Mission: The Enforcer. This lightning-fast unit operates completely independently of the other two lancers. It exploits the flanks of the battlefield, bypasses the center, and pounces on isolated enemy units, mission objectives, or the enemy’s defenseless artillery.
The Lineup (Example)
- Phoenix Hawk PXH-1 (Skirmisher – 26 HP)
- Griffin GRF-1N (Sniper – 31 HP)
- Wolverine WVR-6R (Skirmisher – 30 HP)
- Locust LCT-1E (Scout – 19 PV)
Why this compilation?
These units move extremely fast at 10″ to 12″ and use jump jets (j) to ignore all terrain. They permanently generate high target movement modifiers (TMM of +2 or +3), which is why the enemy has enormous trouble hitting them at all. They strike hard and disappear back into cover before the enemy can react.
Company-Level Coordination: The Three-Step Tactic
Playing a company means conducting the three lances like an orchestra. The sequence follows a clear choreography:
Step 1: Stretch the net (Rounds 1–2)
Your Fire Support Lance immediately seeks out an elevated position or takes cover behind a large obstacle. The Battle Lance marches in a straight line toward the primary target. At the same time, the Striker Lance sprints along one of the outer flanks, completely bypassing the main action.
Step 2: The Anvil Is Blocked (Rounds 2–3)
The Battle Lance charges at the enemy. The Atlas and the Marauder open fire from medium range. The enemy must now defend itself and fires at your Battle Lance. Now it’s the ranged units’ turn to shine: Since your Battle Lance has a line of sight to the enemy ‘Mechs, the Archer and Catapult can rain indirect fire down on the targets from their safe cover at the other end of the map. The enemy suffers massive damage but cannot counter your missile boats.
Step 3: The Hammer Strikes (Round 3+)
While the enemy is trapped in the crossfire between your Battle Lance (in front of him) and the barrage of missiles (above him), your Striker Lance breaks out from the flank. The Locust and the Phoenix Hawk race behind enemy lines and attack the mechs from the rear (rear-attack bonus!). If the opponent tries to turn units around to chase the Strikers, they’ll leave their front exposed to the Atlas and the Awesome.
Takeaway for Beginners: Don’t Be Afraid of Big Numbers
Playing a company of 12 ‘Mechs can seem intimidating at first. But thanks to this strict division, you don’t have to figure out what each ‘Mech should do individually during the movement phase:
- Group Yellow (Fire Support) stays behind and fires.
- Red Group (Battle) moves forward and blocks.
- Blue Group (Striker) runs around the outside and attacks from behind.
With this classic system, you’ll always keep track of the action—even in the biggest battles—and methodically crush your opponent!
Transparency notice on the use of AI (in accordance with the EU AI Act):
The content of this blog is personally conceived, researched and defined by me. I use generative artificial intelligence to help me formulate and structure the texts.
Why? This enables me to prepare complex issues more precisely and to focus fully on the quality of the content and research. The final editorial control and responsibility for all published content lies solely with me.
Together for better content!
This blog is a project of the heart that can only continue to grow with your help. Every comment, every recommendation – and especially your financial support – secures the future of this platform.
Do you want this content to remain freely accessible?
This is how you can support the mission:
- NEWSLETTER REGISTRATION: Become part of the fast-growing community and never miss an update again!
- BECOME A PATREON MEMBER: Join the inner circle and get access to exclusive material and early releases.
- OTHER SUPPORT: Whether it’s a donation, sharing a post or recommending the blog to others – every form of support counts!
Let’s make this blog an even better place together!

Ich bin Sören Spieckermann, der Kopf hinter mechstrategen. Seit Jahren faszinieren mich taktische Tabletop-Schlachten und die strategische Tiefe von Mechs. Ob schnelle Gefechte in Halo: Flashpoint oder epische Schlachten bei BattleTech Alpha Strike – hier teile ich meine Erfahrungen und Taktiken mit dir. Mein Ziel? Sowohl Einsteigern den Start zu erleichtern als auch alten Hasen neue Impulse für das nächste Match zu geben.