
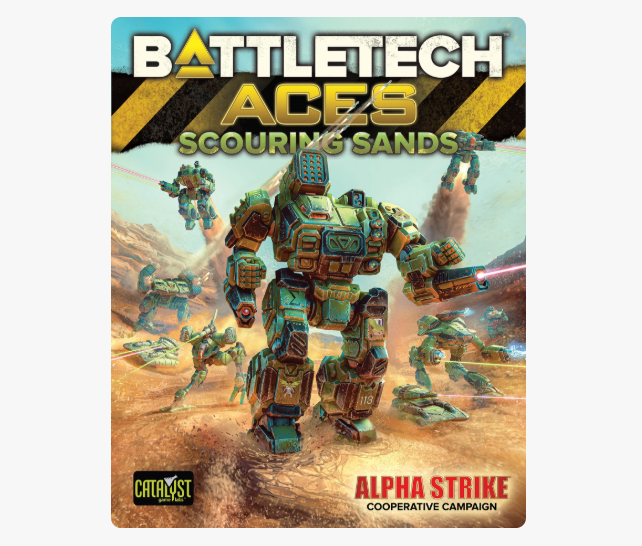
BattleTech Aces Scouring Sands
BattleTech Aces: Why Scouring Sands is changing solo wargaming forever Introduction: The end of loneliness at the gaming table Every
BattleTech Aces: Why Scouring Sands is changing solo wargaming forever Introduction: The end of loneliness at the gaming table Every

BattleTech Alpha Strike Minefields Guide – Rules, Tactics & Mine Clearing In today’s blog post, we delve into one of
BattleTech Alpha Strike Minefields Guide – Rules, Tactics & Mine Clearing Read More »

BattleTech Alpha Strike FLK-Guide: Air Defense & Flak Rules Explained In today’s blog post, we will be looking at one
BattleTech Alpha Strike FLK-Guide: Air Defense & Flak Rules Explained Read More »

When the target is missed: Unintended damage in Alpha Strike In the heat of battle, not all shots land where
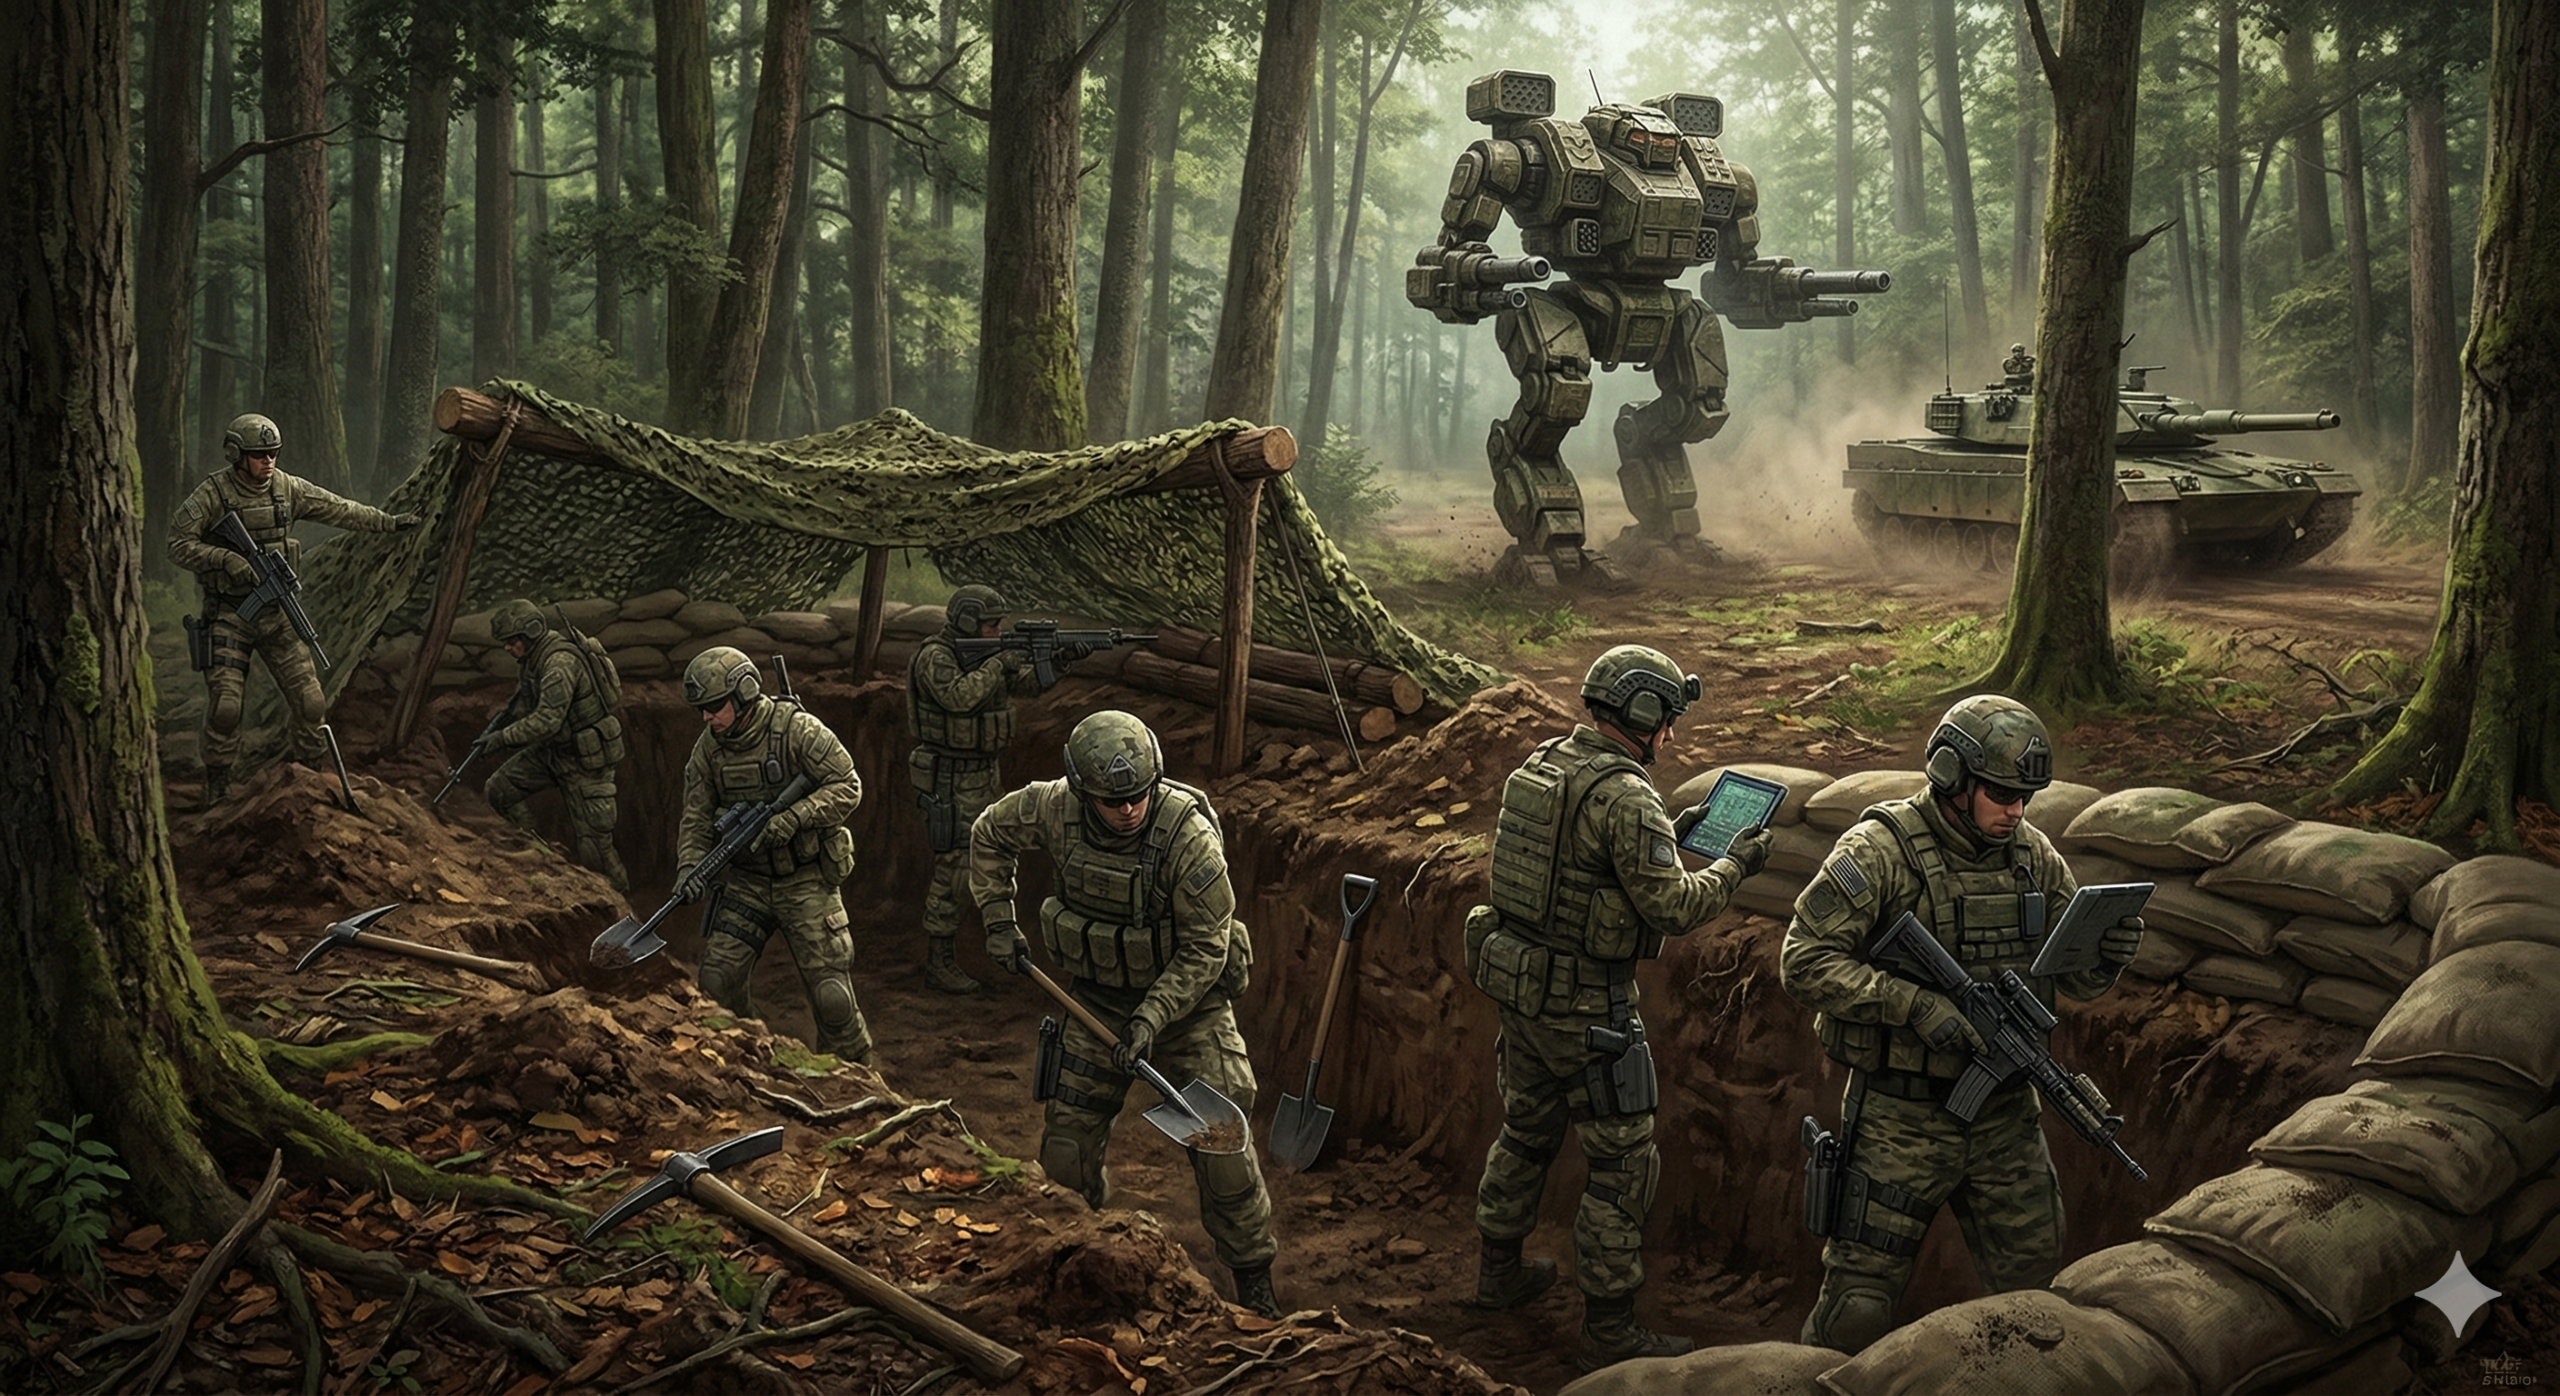
Infantry digging in & fortified positions – Tactics guide for sappers In the world of BattleTech Alpha Strike, infantry is
Infantry digging in & fortified positions – Tactics guide for sappers Read More »

Rolling thunder on the battlefield: the rules for artillery in Alpha Strike In the world of BattleTech, artillery is often

BattleTech Alpha Strike: Fire and Smoke Guide – Rules for Fire, Smoke and the Terrain Factor We’re looking at an
BattleTech Alpha Strike: Rules for fire, smoke and terrain factor Read More »

BattleTech Alpha Strike: Rules for movement in and through buildings In BattleTech Alpha Strike, different units can enter or pass
BattleTech Alpha Strike: Rules for movement in and through buildings Read More »

In BattleTech Alpha Strike, the rules for “Dropping Troops ” allow units to be brought onto the battlefield directly from

BattleTech Alpha Strike Engine Explosions: Reactor Explosions & Rules Explained Today’s blog post is about the ultimate “kaboom factor” on

Sensors & target acquisition: Your guide to TAG, NARC and Active Probes in Alpha Strike (special abilities) In the heat
Sensors & target acquisition: Your guide to special abilities in Alpha Strike Read More »

Precision through networking: the C3 network in BattleTech Alpha Strike In the heat of battle on the battlefields of the

Morale Checks in BattleTech Alpha Strike We’ve all been there: you want your units to fight to the last structure
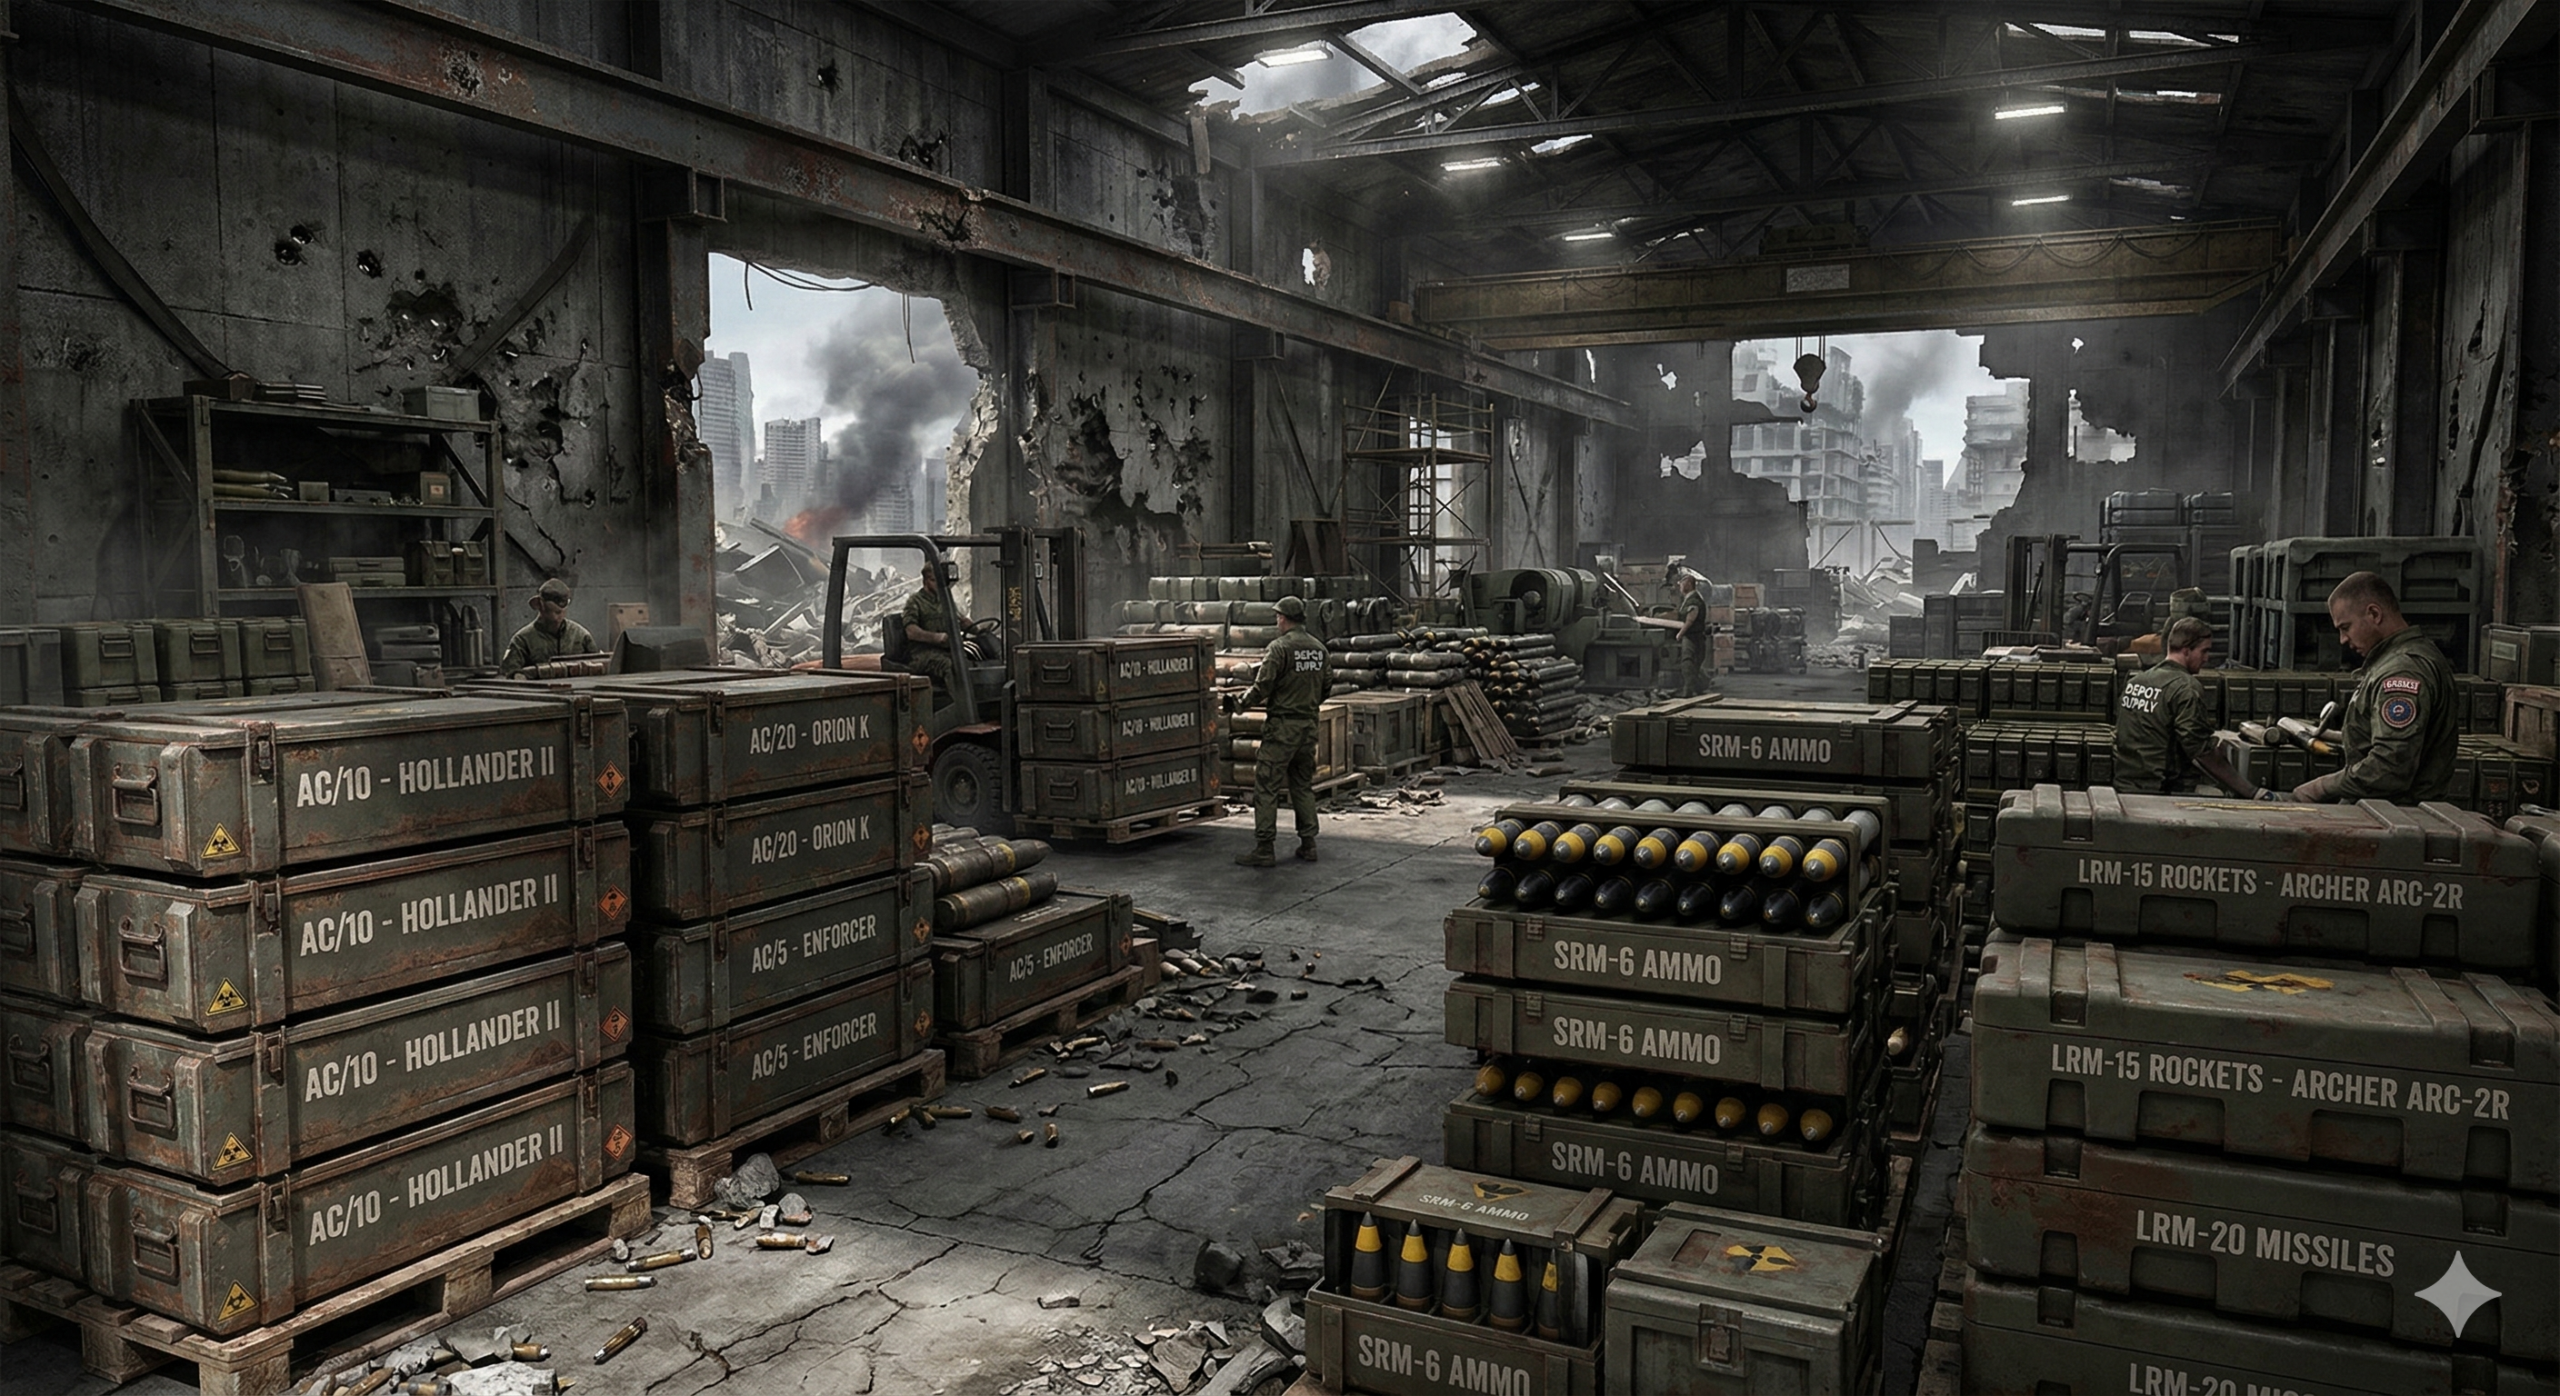
BattleTech Alpha Strike Guide: All about special ammunition (Alternate Munitions) Today we’re diving deep into a topic that adds a
Alpha Strike Guide: All about alternate ammunition types (Alternate Munitions) Read More »

Faster to the front: The ultimate guide to infantry transport in Alpha Strike In BattleTech Alpha Strike, infantry is often

Here is a detailed blog post about the movement type “Jumping” in BattleTech Alpha Strike, based on the official rules

BattleTech Alpha Strike Guide: Motive Hits & Chassis Damage for Vehicles Today’s blog post is dedicated to the Achilles heel
BattleTech Alpha Strike Guide: Motive Hits & Chassis Damage for Vehicles Read More »
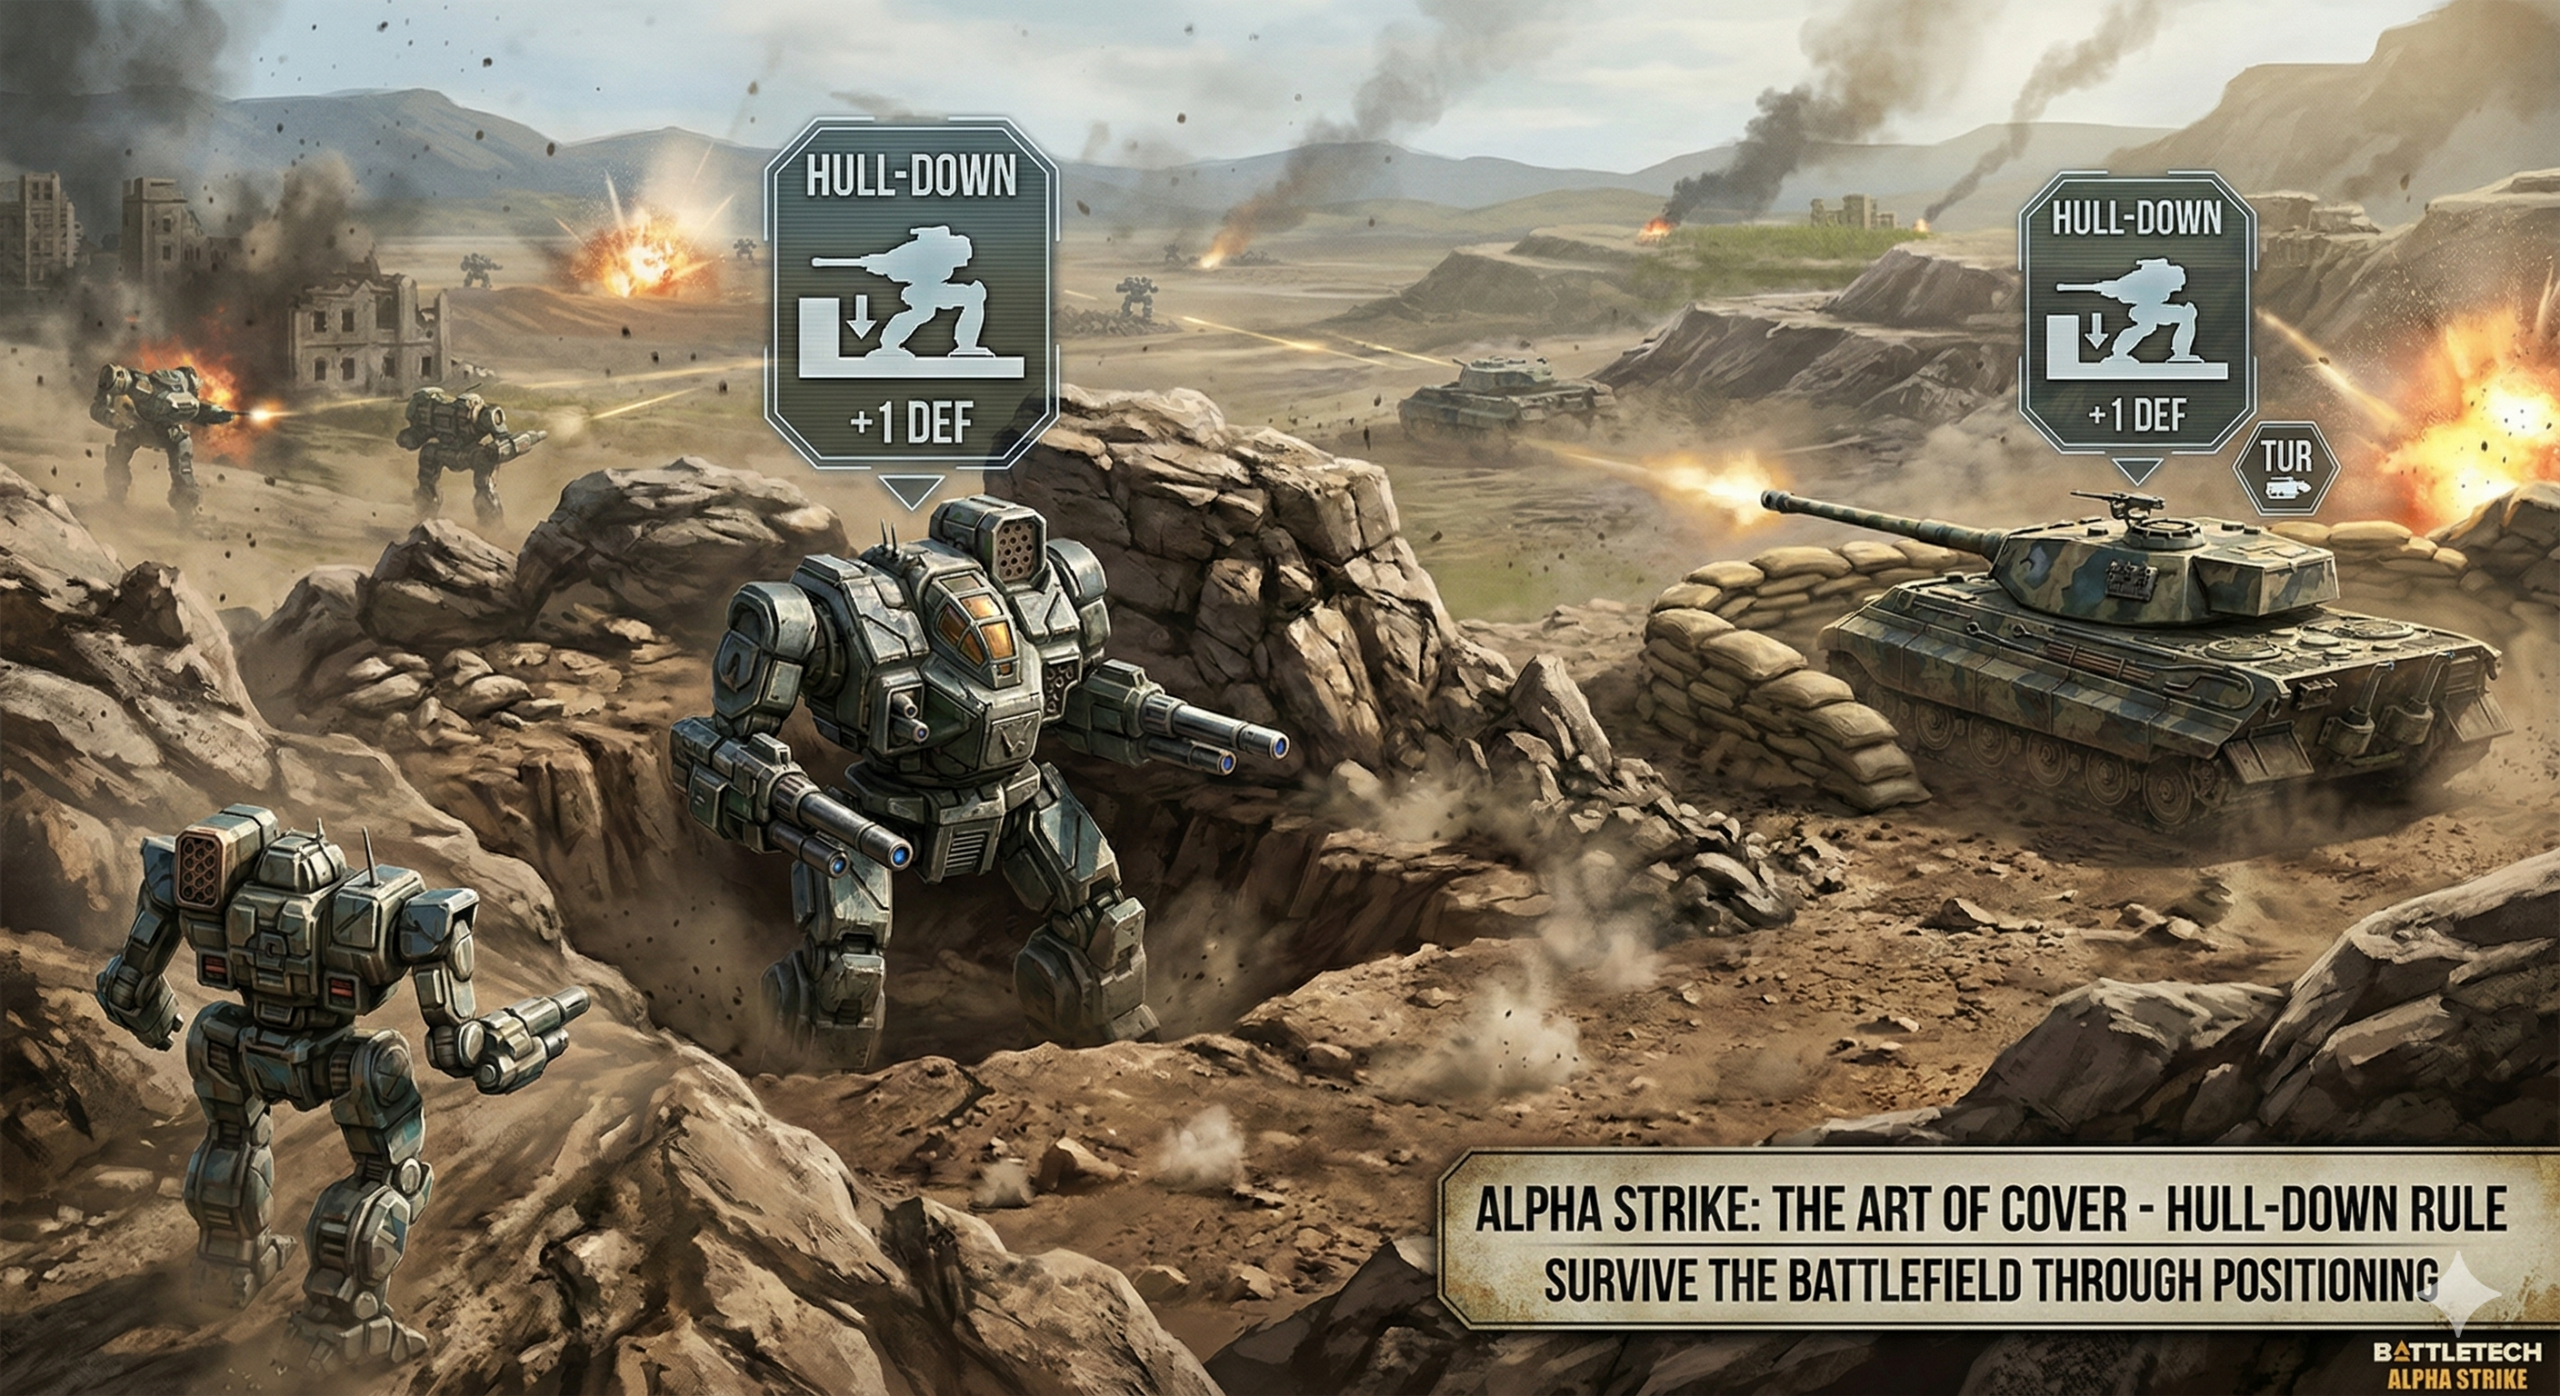
The art of cover: the hull-down rule in Alpha Strike In BattleTech Alpha Strike, survival on the battlefield is often
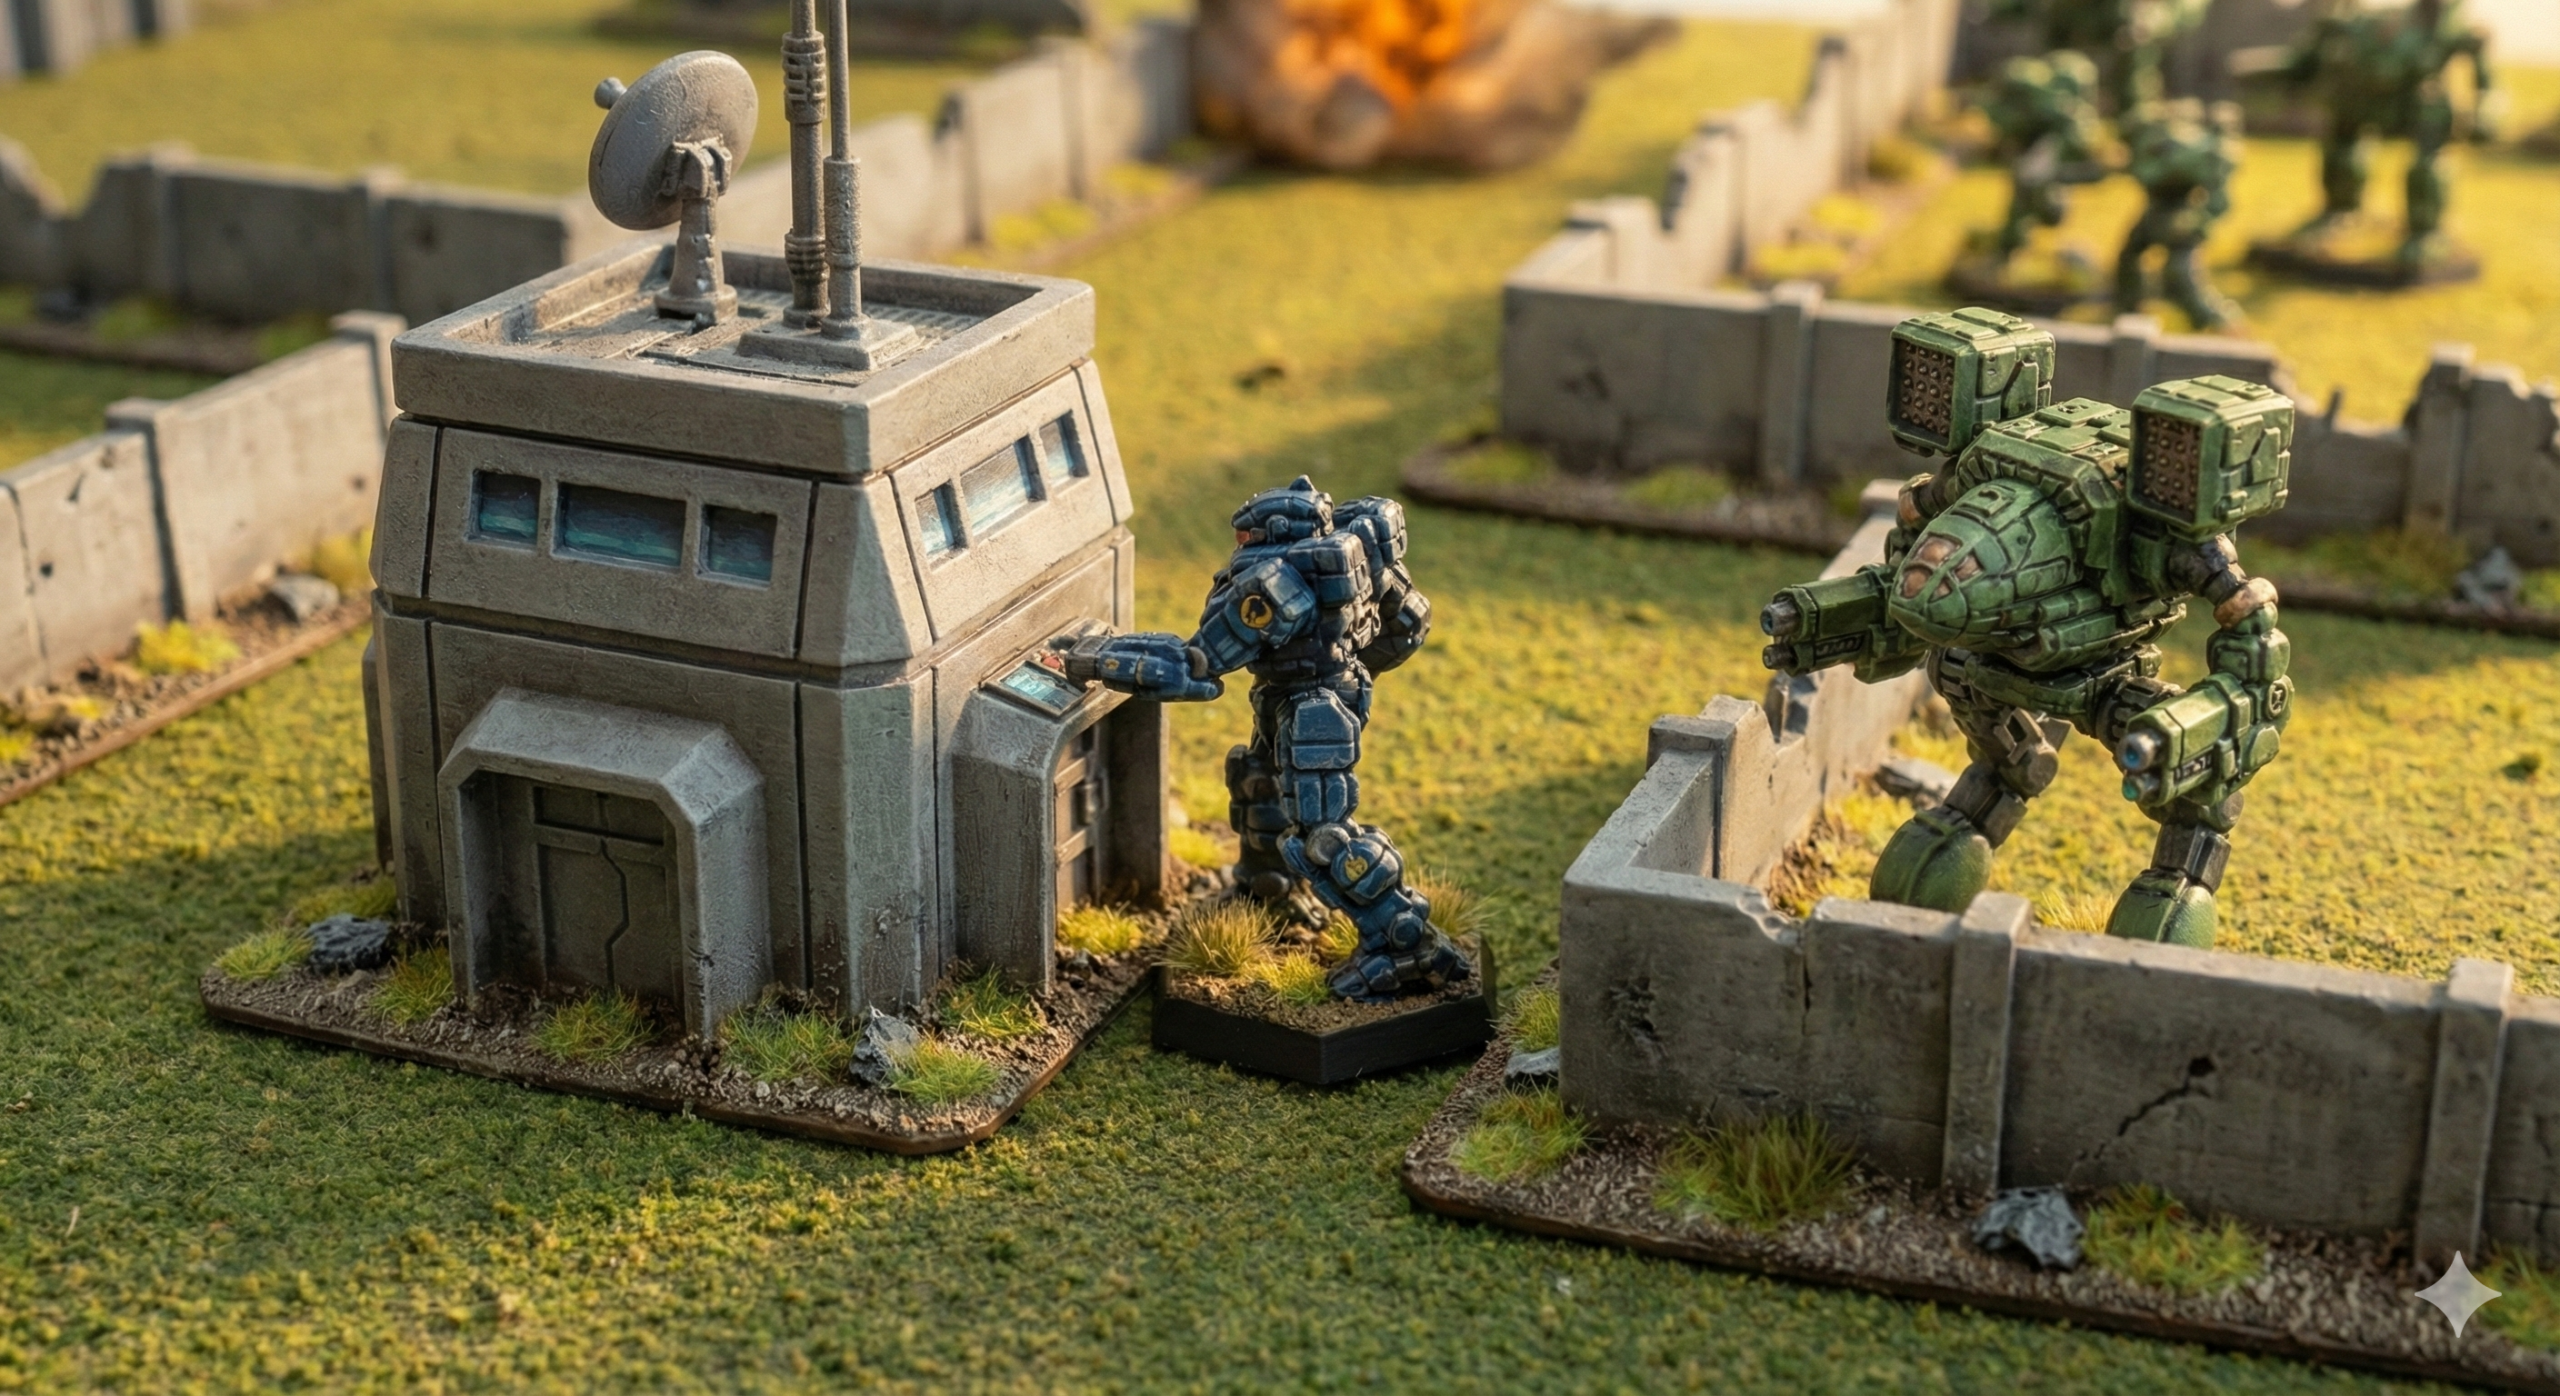
Shadows on the battlefield: A guide to hidden units in Alpha Strike BattleTech Alpha Strike is not always just about

Battlefield Support in Alpha Strike: My tactical guide In my Alpha Strike games, I love to use the Battlefield Support

