Why the terrain is the most underestimated element on the Alpha Strike pitch
Today I’m talking about an element that is often only mentioned in passing in many match reports and list analyses, but which can make the difference between victory and defeat: The terrain.
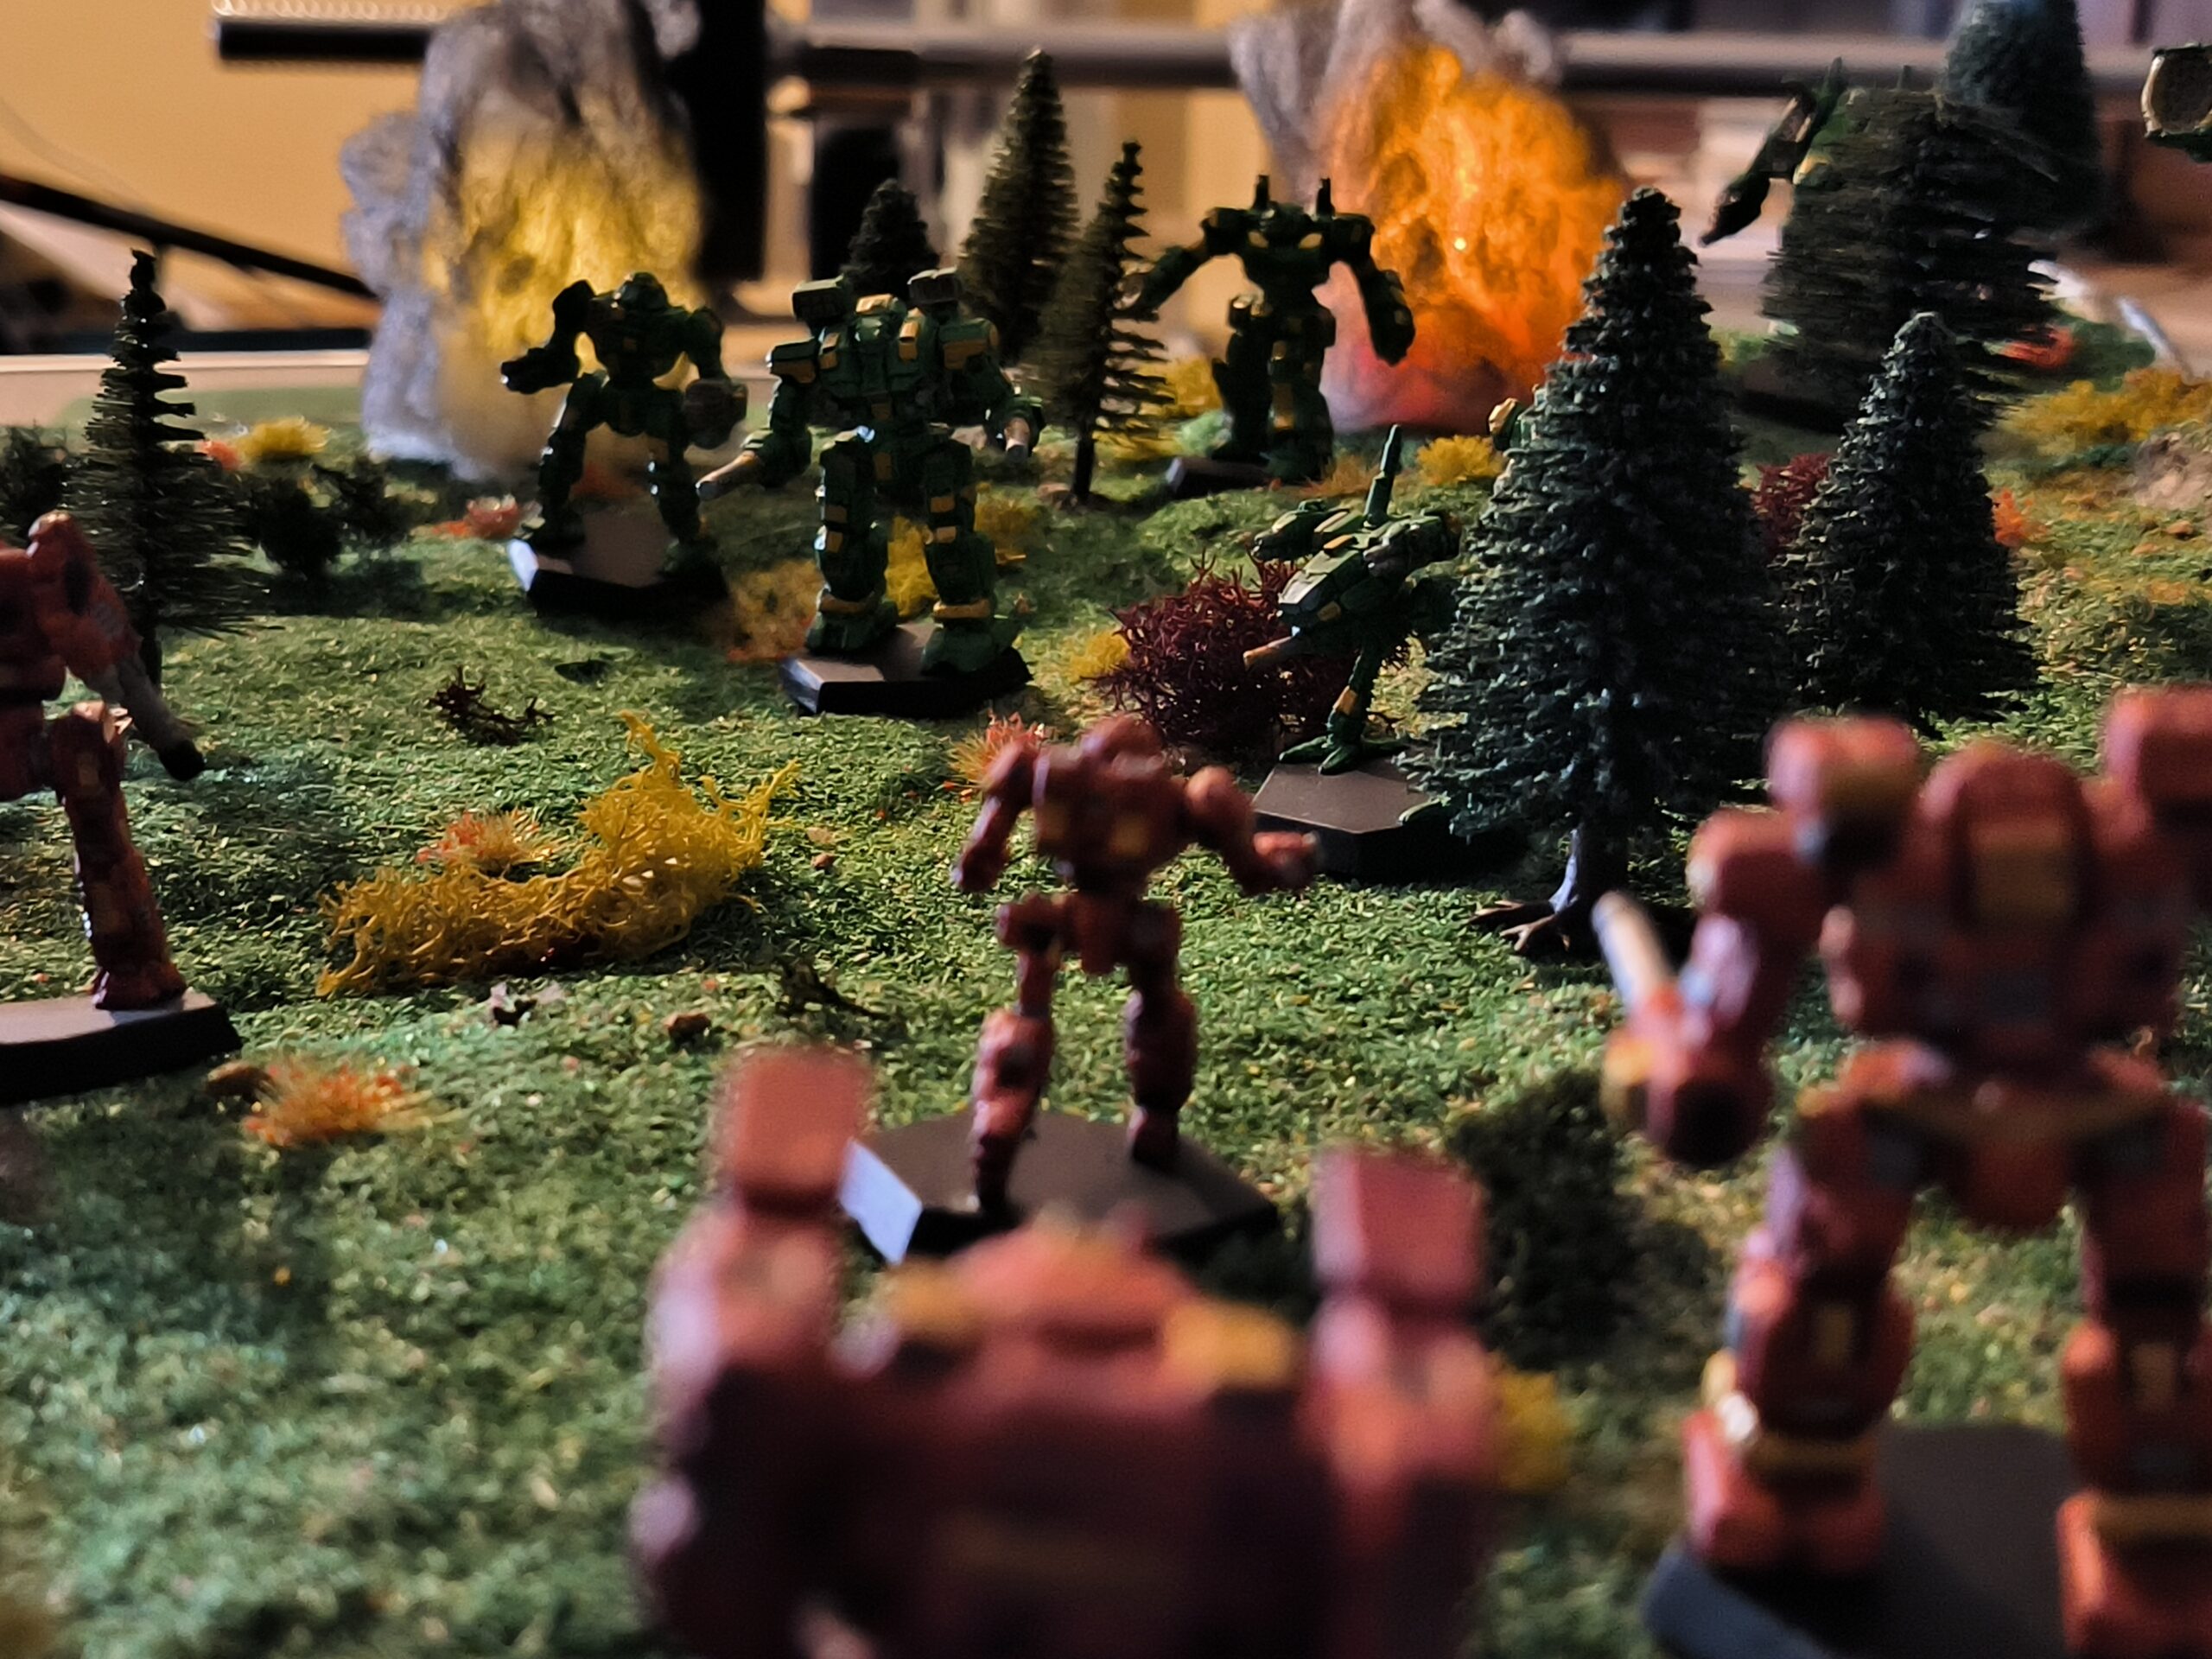
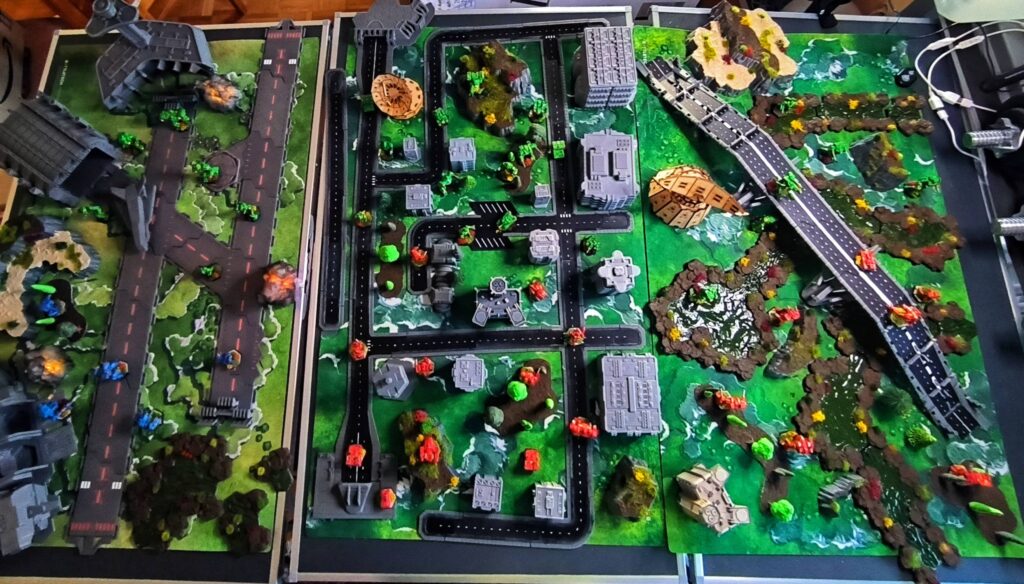
In the fast, deadly game of BattleTech Alpha Strike on a standard 6×4 foot playing field (approximately 180cm x 120cm), we tend to focus on our heavy firepower, our movement rates and our unit Damage Value . But the terrain isn’t just decoration – it’s a silent, third player that dictates the rules of engagement.
1. the choice of terrain dictates the choice of units
The terrain should have a massive influence on your list planning. Always ask yourself: What does the battlefield on which my unit will fight look like?
- Dense forests (Woods/Forest): These provide excellent cover, but drastically slow down wheeled and tracked vehicles. This is the natural territory for
jumping BattleMechs . A‘Mech with Jump Jets ignores the movement modifiers of forests and maintains full speed while benefiting from cover. If you know you’ll need to maneuver through forests, leave the lumbering ground troops in the hangar and take the jumpers with you. - Open steppe/desert: Hover vehicles (fast, ignore almost all terrain types) and ‘Mechs with high ground movement dominate here. Cover is scarce, so units with good armor and/or long range (L-Long range) have an advantage as they can bridge or dominate the open space faster.
- Urban terrain (Buildings): Buildings can providecover, but can also be deadly obstacles. They are ideal for
ambush tactics and close combat. Watch out for units with powerful short range weapons, as there is usually no line of sight for long range.
Tip: Always choose your units with the dominant terrain types of your game table in mind. If you ignore this step, you run the risk of dragging your 80-ton beast through a swamp or forest at its slow speed while it is being circled by light hunters. In an urban area with many roads, vehicles with wheel drive are preferable. These get a range bonus when moving on the road.
2. positioning: control of key positions
Before the first shot is fired, you need to identify the most important terrain features and plan your deployment accordingly.
- Fire corridors (Lines of Sight): Large, open areas are fire corridors. Set up your ranged fighters or your fastest flankers here.
- Anchor points (cover): Dense forest areas, elevations or robustbuildings (Hardened Buildings) are anchor points. These are the places where your mechs stand to get cover (e.g. partial cover). Hold these positions!
- Height advantage (Elevation): Hills and mountains(Levels of Elevation) not only provide partial cover, but also extended lines of sight. From a hill, you can make full use of the range of your weapons and force your opponents to maneuver into a disadvantage.
A clever set-up does not begin at the start zone, but with mastering the terrain in the middle third of the pitch.
3. tactics: using the terrain as a weapon
This is the most important point: the terrain is your most powerful, free tool.
Maneuver by slowing down the terrain
Use the terrain to force your opponent’s movement modifiers while avoiding them.
- Leave a slow, gun-toting mech in a wooded area for cover and use its speed to shoot rather than maneuver.
- Force enemy wheeled vehicles through shallow water or swamps to cut them off from their attack or bring your unit into close combat with superior numbers.
Block line of sight (LOS)
The most effective tactic is often avoiding damage.
- Use a low hill or sturdy building to block the line of sight of a particularly dangerous enemy. This is particularly useful against long-range sniper mechs such as the King Crab or the Nightstar.
- “Pop-Up Attacks”: Move a jumping mech behind a forest to stay in cover, jump over the obstacle on the next turn and fire.
4. concrete examples: Terrain as a tactical advantage
To make the theory tangible, let’s look at two classic scenarios in which the terrain determines the outcome of the battle:
Example A: The Leaping Hunter and the dense forest
Imagine a densely wooded center of the playing field (terrain type Woods, TMM+1 for cover, movement in the forest reduced).
- The aggressor: A Shadow Hawk (SHD-2D, 10″/6 “j movement, 2/3/1 damage).
- The terrain: The Shadow Hawk uses its jump jets (6″). It moves 6″ and lands in the forest. Since it jumps, it does not receive the penalty for moving in the forest. It fires and gains the +1 cover bonus from the forest.
- The sufferer: A heavy Awesome (AWS-8Q, 6″ movement). The Awesome must either crawl slowly through the forest (each inch of movement costs 1 inch extra) or circle it. Since the Shadow Hawk jumps, it can constantly attack the Awesome out of the forest and then change position (e.g. increase distance) – the Awesome has trouble keeping up and often has to shoot without cover.
In this case, the terrain makes the Shadow Hawk – actually a medium mech – incredibly resilient and mobile against a heavy fire support. The Jump Jets are only so powerful in the context of the terrain.
Example B: Tracked vehicles and the shallow waters
One wing of the playing field is dominated by a large section of shallow water (Water LV 0) (movement +1 for tracked/wheeled vehicles) that is 5 inches wide.
- Unit A (vehicle): A Demolisher Heavy Tank MK II (tracks, 6 “t movement, 4/4/0 damage).
- Unit B (BattleMech): A Grasshopper (GHR-5H, 8 “j movement, 3/4/0* damage).
- The terrain: The Demolisher is a firepower platform, but must hold its position. To get into a better firing position, it must cross the shallow water. Its movement is reduced to 3 inches in the water. It spends two full turns traversing the terrain.
- The tactical advantage: The Grasshopper can ignore the shallow water, as BattleMechs can jump over it. It can
circle the Demolisher and attack while it is stuck in the water. The Demolisher loses two turns of effective movement and is an easy target.
5 The mission determines the maneuver: terrain in the service of the target
The perfect unit selection is not only a question of the playing field, but also of the mission. The terrain can either make the requirements of the mission dramatically easier or more difficult.
A. Breakthrough and reconnaissance missions (Breakthrough/Reconnaissance)
These missions require speed and independence. The aim is to reach a certain point as quickly as possible or to break through the enemy lines.
- Priority: Fast, terrain-independent units such as hover vehicles or light/jumping mechs.
- Terrain strategy: Use dense or difficult terrain strategically to outrun pursuers. If you know you have to go through a swampy area, choose the jumping mech, knowing that the heavy wheeled opponent will fall hopelessly behind. The terrain becomes a time delay trap for the enemy.
B. Hold the line and attack missions (Hold the Line/Attack)
The aim here is to secure zones, stop an advance or eliminate an enemy position. Combat strength and tenacity are more important than pure speed.
- Priority: Heavy, powerful units with higharmor and high damage output.
- Terrain strategy: Identifies the anchor points (covers) and choke points (bottlenecks) of the terrain. A heavy mech may be slow, but if it is in a wooded area, in cover while guarding a bottleneck, it is almost impregnable. The terrain becomes a defensive fortress that compensates for the disadvantages of the unit’s slow speed.
Note: In a reconnaissance mission, it is better to choose a fast mech that takes a detour over a hill to get a clear view than a heavy mech that has to go straight through a wooded area. The lower combat strength is compensated for by the completed mission.
Conclusion: Stop just looking at the values
The bare stats of a mech are only half the battle. An UrbanMech (UM-R60) is a joke on an open field, but in a city where it can shimmy from building to building and fire its AC/20 from ambush, it becomes a deadly threat.
The true mech strategist not only studies his opponents, but also the battlefield.
- The inexperienced player sees a forest clearing.
- The experienced player will see Woods\ Cover (+1 ) and a movement zone which slows down units or even makes them impassable.
Next time you set up your 6×4 foot table, take a moment. Before you place your units, analyze the terrain. It could be the key to your next victory!
Transparency notice on the use of AI (in accordance with the EU AI Act):
The content of this blog is personally conceived, researched and defined by me. I use generative artificial intelligence to help me formulate and structure the texts.
Why? This enables me to prepare complex issues more precisely and to focus fully on the quality of the content and research. The final editorial control and responsibility for all published content lies solely with me.
Together for better content!
This blog is a project of the heart that can only continue to grow with your help. Every comment, every recommendation – and especially your financial support – secures the future of this platform.
Do you want this content to remain freely accessible?
This is how you can support the mission:
- NEWSLETTER REGISTRATION: Become part of the fast-growing community and never miss an update again!
- BECOME A PATREON MEMBER: Join the inner circle and get access to exclusive material and early releases.
- OTHER SUPPORT: Whether it’s a donation, sharing a post or recommending the blog to others – every form of support counts!
Let’s make this blog an even better place together!

Ich bin Sören Spieckermann, der Kopf hinter mechstrategen. Seit Jahren faszinieren mich taktische Tabletop-Schlachten und die strategische Tiefe von Mechs. Ob schnelle Gefechte in Halo: Flashpoint oder epische Schlachten bei BattleTech Alpha Strike – hier teile ich meine Erfahrungen und Taktiken mit dir. Mein Ziel? Sowohl Einsteigern den Start zu erleichtern als auch alten Hasen neue Impulse für das nächste Match zu geben.