Strategic depth in Battletech Alpha Strike: The use of the “Scattered Deployment”
In the dynamic world of Battletech Alpha Strike, the right tactical decisions can make the difference between victory and defeat on the battlefield. One particularly interesting strategy is the so-called “dispersed deployment”, which relies on flexibility, surprise and control of the playing field. In this blog article, I highlight the strengths, weaknesses and optimal use of this strategy.
What is the “dispersed setup”?
A dispersed formation is a tactical formation in which units are spread out across the pitch instead of advancing in compact groups (e.g. lance formations). In contrast to a concentrated attacking line or defensive bulwarks, the dispersed formation aims to puzzle the opponent, force them to split up and control key positions on the pitch early on.
Advantages of dispersed installation
- Field control:
A broad deployment makes it possible to occupy mission objectives early on and deny the opponent access to important positions. - Flexibility:
Dispersed units can react flexibly to threats and quickly carry out flanking attacks. - Difficult target acquisition:
The opponent has a harder time concentrating his firepower because his own units are positioned far apart. - Surprise effect:
The unpredictable formation makes it more difficult to predict the commander’s movements and intentions.
Challenges and risks
- Lack of firepower concentration:
Individual BattleMechs can become isolated and vulnerable to focused attacks from the enemy. - Coordination problems:
If units are too far apart, coordination becomes more difficult, which can reduce the effectiveness of combined attacks. - Restricted range of movement
The range of movement can be restricted by terrain such as hills or forests. As a result, “contact” between units can be lost and they can no longer support each other.
Tactical tips for use
- Mix of fast and heavy units:
Fast scout mechs should occupy mission objectives and conduct reconnaissance, while heavier units provide support at key positions. - Using the terrain:
Hiding places behind hills or in forests maximize the survivability of individual mechs. - Coordinated attack:
Even if the units are scattered, the attack should still be coordinated. Effective timing is crucial. - Decoys and deceptive maneuvers:
Lure the enemy into ambushes with seemingly isolated mechs. - Focus on mission objectives:
The focus should always be on controlling mission points in order to deny the opponent valuable points.
When is scattered installation useful?
- Open playing fields: This strategy is particularly effective in areas with plenty of space for movement and line of sight.
- Mission-based scenarios: When it comes to holding or capturing several objectives at the same time.
- Unclear enemy formations: If the opponent holds back his units (e.g. if the “hidden units” rule is used) or acts scattered, a scattered formation can be an advantage.
Preferred BattleMechs for dispersed deployment
Not every mech is equally suitable for dispersed deployment. Due to the requirements for mobility and fast reaction times, light to medium-weight mechs should be preferred. These have sufficient movement range to react quickly to threats, reach mission objectives or flank allied units.
The following BattleMechs have proved particularly effective in this role:
- Jenner (JR7-D): Extremely agile with a high sprint value, ideal for fast forays, flanking maneuvers and deflection actions.
- Wolfhound (WLF-1): A robust scout with good firepower and mobility – perfect for hit-and-run tactics.
- Commando (COM-2D): Small, fast and surprisingly powerful – an ideal shock troop mech.
- Phoenix Hawk (PXH-1): Classic jumper with solid mobility and medium armament, ideal for quick position changes.
- Dervish (DV-6M): A flexible supporter with jumping ability and good long-range armament – a real all-rounder for the flank.
These mechs make it possible to react flexibly to enemy movements, exert pressure on distant mission objectives and at the same time not be completely defenceless in a firefight. Their ability to quickly form focal points or withdraw is essential for the success of a dispersed battle group.
So if you’re looking for agility, tactical options and map control, you should definitely consider these mechs.
Use of heavy BattleMechs
Even if the dispersed formation focuses on mobility and flexibility, this does not mean that heavy BattleMechs have to be left out. On the contrary: they can play an important complementary role within this tactic – provided they are deployed in a targeted and strategic manner.
As heavy mechs generally have a shorter range of movement, they are less suitable for rapid advances or spontaneous flank attacks. Their strengths lie more in the firepower, durability and presence they exude on the battlefield.
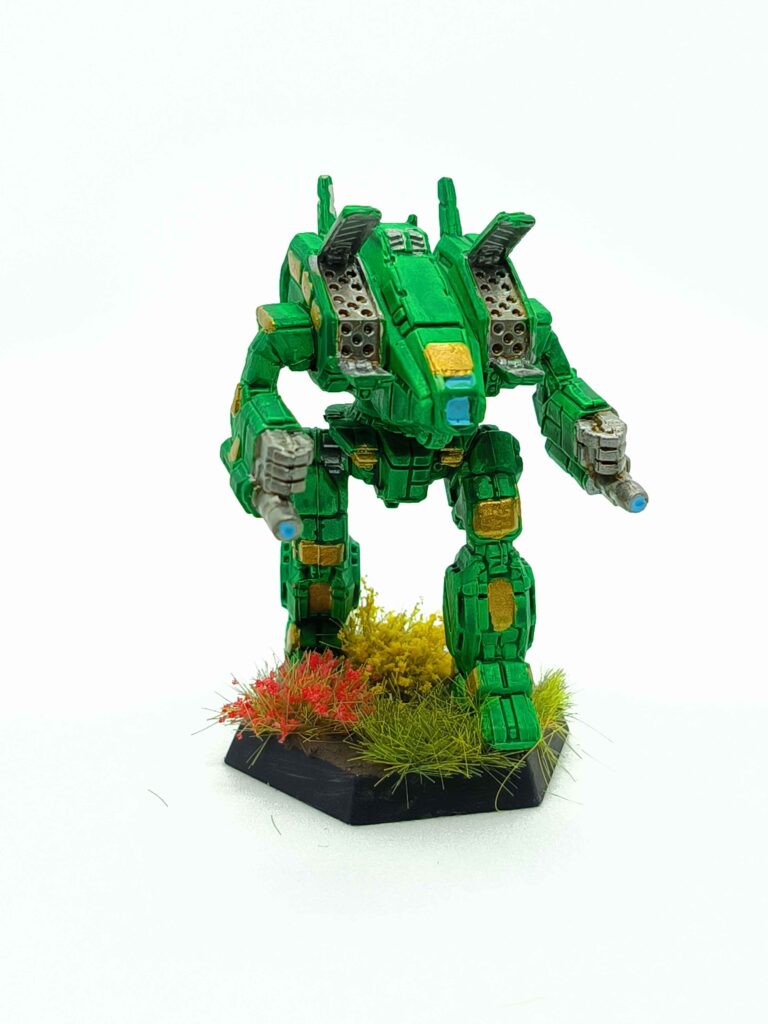
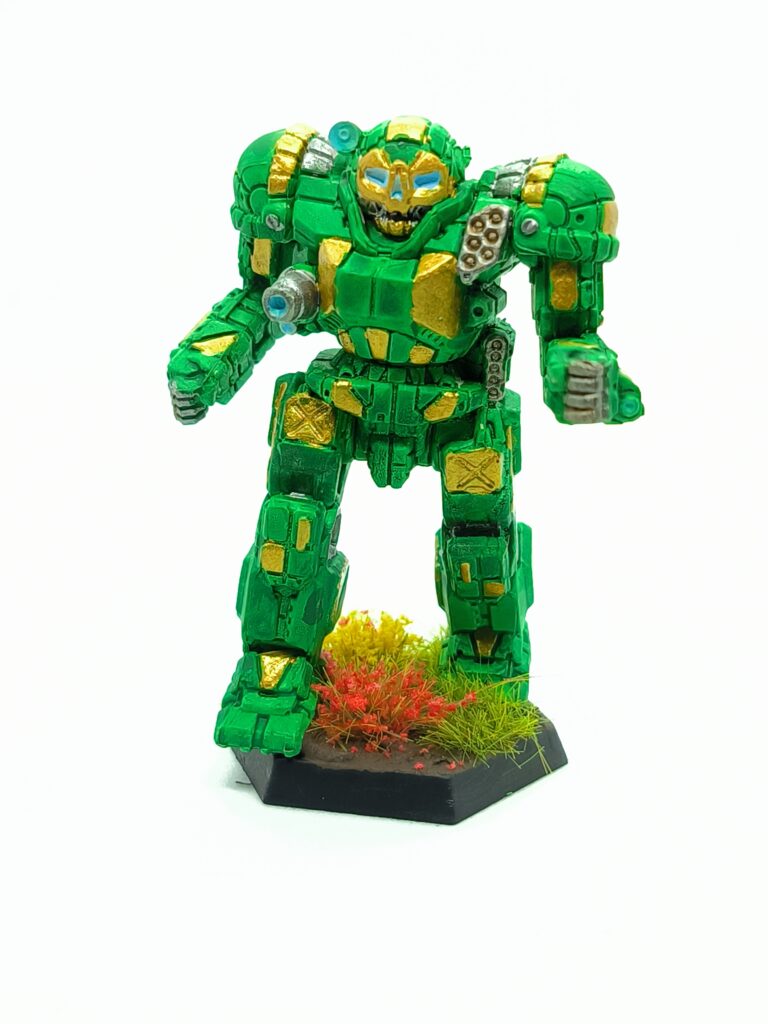
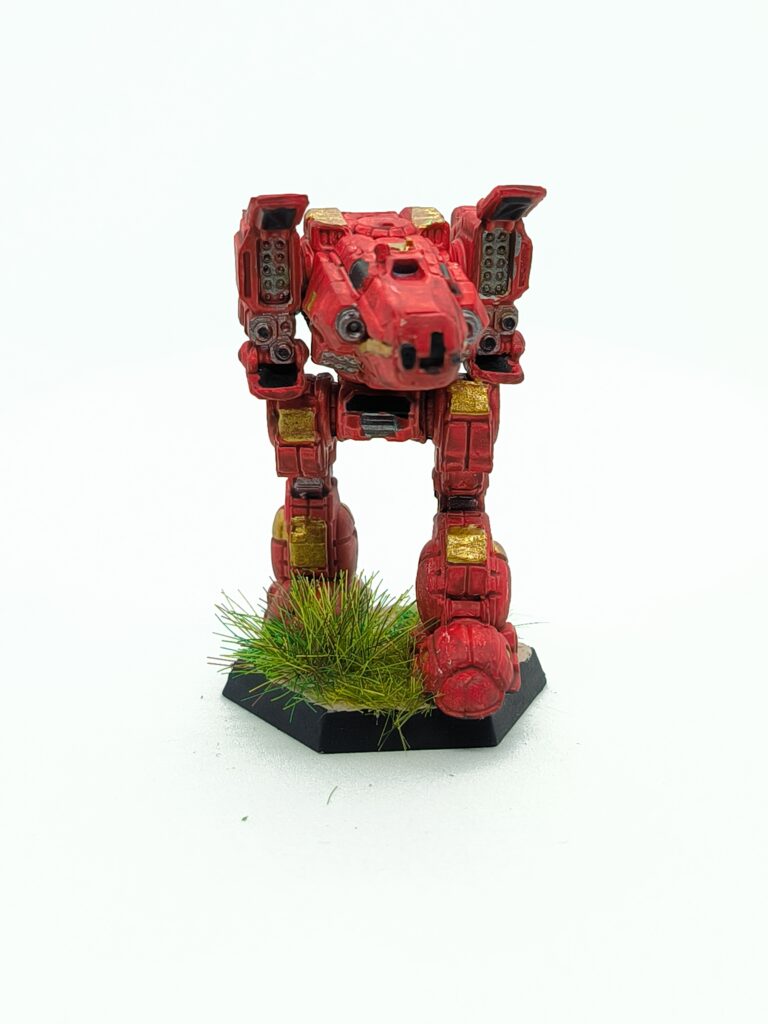
Typical deployment options for heavy mechs in a dispersed formation:
- Defense of mission objectives: If you position a heavy mech on a valuable mission objective, it becomes a real challenge for the enemy to capture this objective without considerable effort.
- Protecting the rear: They are ideal for protecting against enemy flank attacks or fast disruptive maneuvers, for example by fast scout mechs that want to advance into their own deployment zone.
- Fire support from the second row: Heavy mechs with long-range armament in particular can exert pressure on advancing enemies from a safe position and thus restrict the enemy’s movements. They thus reinforce the effect of the scattered light and medium units.
An example: While a Phoenix Hawk or Jenner can play the front lines dynamically, an Archer, Warhammer or Catapult can provide targeted fire support from the background or secure a mission point.
Conclusion: Heavy mechs are not the backbone of movement in the dispersed formation – but they are the anchor point on which the enemy wears itself out when trying to disrupt the rear area or capture mission objectives.
Conclusion on the“scattered line-up” tactic
The “dispersed deployment” is a challenging but rewarding tactic in Battletech Alpha Strike that requires a high degree of planning and situational adaptation. Players who master this strategy can dominate the battlefield and force opponents onto the defensive. Through skillful position selection and coordinated attacks, the scattered formation offers a high potential for victory and tactical superiority.
Ready to conquer the battlefield? Then experiment with the scattered formation and find your own balance between chaos and control!


