Tactics focus: The hammer-and-anvil strategy in BattleTech Alpha Strike
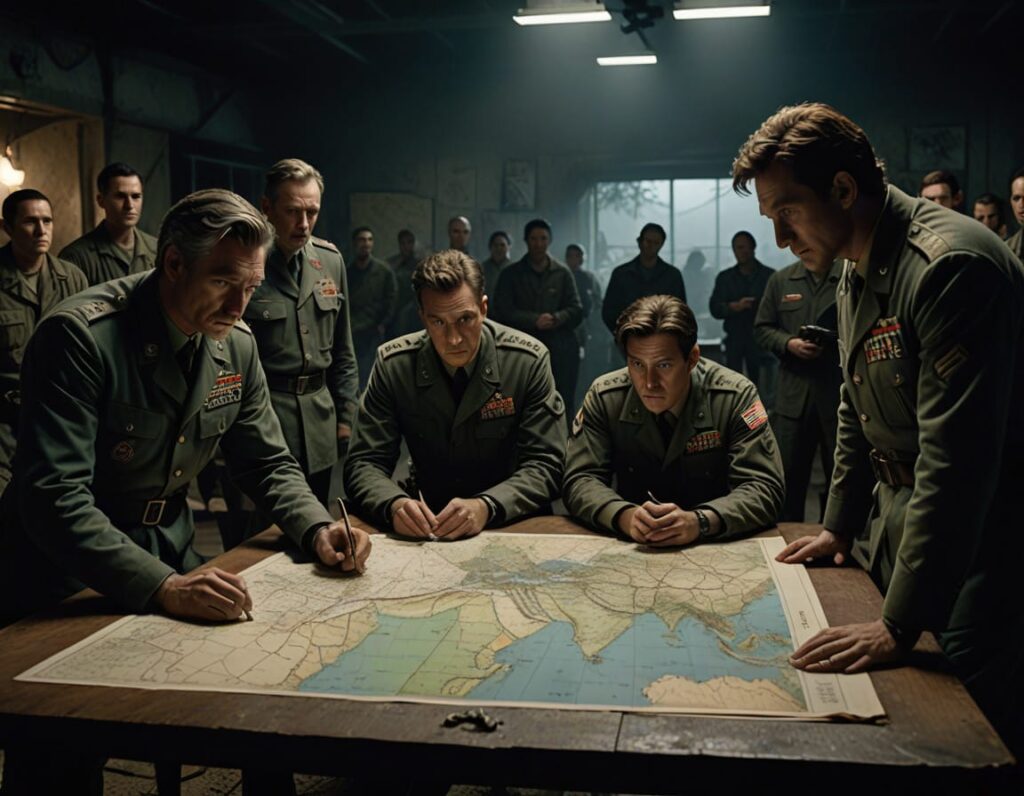
In military history, there are maneuvers that are timeless. Alexander the Great used them, Napoleon perfected them, and in the 31st millennium they are as relevant as ever. We are talking about the classic “hammer and anvil” tactic.
For us as Alpha Strike players, this maneuver is particularly interesting, as the system heavily weights rewards for movement and positioning (TMM and firing angle). But how do you implement this theoretical concept efficiently on the gaming table? An analysis.

The basic principle
The strategy is based on the division of its own armed forces into two specialized elements:
- The Anvil: A stationary or slowly advancing force that binds the enemy, forcing them to fight and holding them in one position.
- The Hammer: A highly mobile strike force that flanks the pinned opponent and delivers devastating blows to the (ideally) unprotected flank or back.
In Alpha Strike, this often works better than in Classic BattleTech, as the abstraction of movement favors quick flanking maneuvers without getting lost in hex details
The anvil: durability before speed
The anvil’s task is thankless, but essential. These units must draw the enemy’s fire and survive.
Requirements for the units:
- High armor (A) and structure (S): The anvil must be able to absorb hits. Units with high armor are mandatory here.
- Range: Since the anvil moves little, these mechs need weapon values in the medium (M) and long (L) range to build up threat potential without having to chase the enemy.
- Special abilities: Abilities such as ENE (Energy) are useful to avoid ammunition explosions, or OV (Overheat) to increase the pressure in decisive rounds.
Example lances: Assault lances or heavy battle lances. Mechs such as the Atlas, Awesome or Warhammer are classic anvil elements. Clan players often use the Dire Wolf or Warhawk.
Tactical hint: The anvil doesn’t have to win, it just doesn’t have to lose until the hammer arrives.
The hammer: mobility is the key
While the anvil keeps the opponent busy, the hammer must close the distance and strike. It is not the maximum armor that counts here, but the Target Movement Modifier (TMM) and the damage at short range.
Requirements for the units:
- High movement rate: At least 10-12 inches of movement (often with jumping ability) to get around terrain and quickly get into the opponent’s back.
- High short-range damage (S & M): As the hammer moves in close, the damage at long range (L) is negligible.
- Cost efficiency: As these units are often lighter, the point costs (PV) should be in proportion to the output.
Example lances: Striker or Cavalry lances. The Wolverine, Griffin, Wraith or, on the Clan side, the Stormcrow and Timber Wolf (in mobile configurations) are ideal.
The implementation at the gaming table
The implementation in Alpha Strike requires patience and an understanding of the initiative phases
- Positioning
Place the anvil centrally or at a strategically important mission objective. The opponent must be forced to deal with it. The hammer is placed on a flank, ideally behind line-of-sight blockades (LOS blockers). - The Approach (Round 1-2)
The Anvil advances slowly, using cover while opening corridors of fire. The hammer moves aggressively across the flank, but remains out of effective range of the enemy until the order to attack is given. - The impact (round 3+)
As soon as the opponent has aligned himself with the anvil, the trap strikes. This is where Alpha Strike’s initiative system becomes crucial.
- Gained initiative: Move the hammer last. Use the movement to get into the enemy’s rear arc (+1 damage, no return fire option).
- Lost Initiative: Move the anvil so that it has maximum cover and use the hammer to create threat zones that force the opponent to end their movement prematurely.
Frequent sources of error
Even experienced players make mistakes with this tactic:
- Lack of timing: The hammer attacks too early and is focused before the anvil has bound the enemy. Light mechs rarely withstand concentrated fire in Alpha Strike for more than one round.
- Ignore the terrain: An anvil in an open field is not an anvil, it’s a target. Use forests and partial cover to increase survivability.
- Too weak anvil: If the anvil falls before the hammer is positioned, your fast units will be worn down one by one.
Conclusion
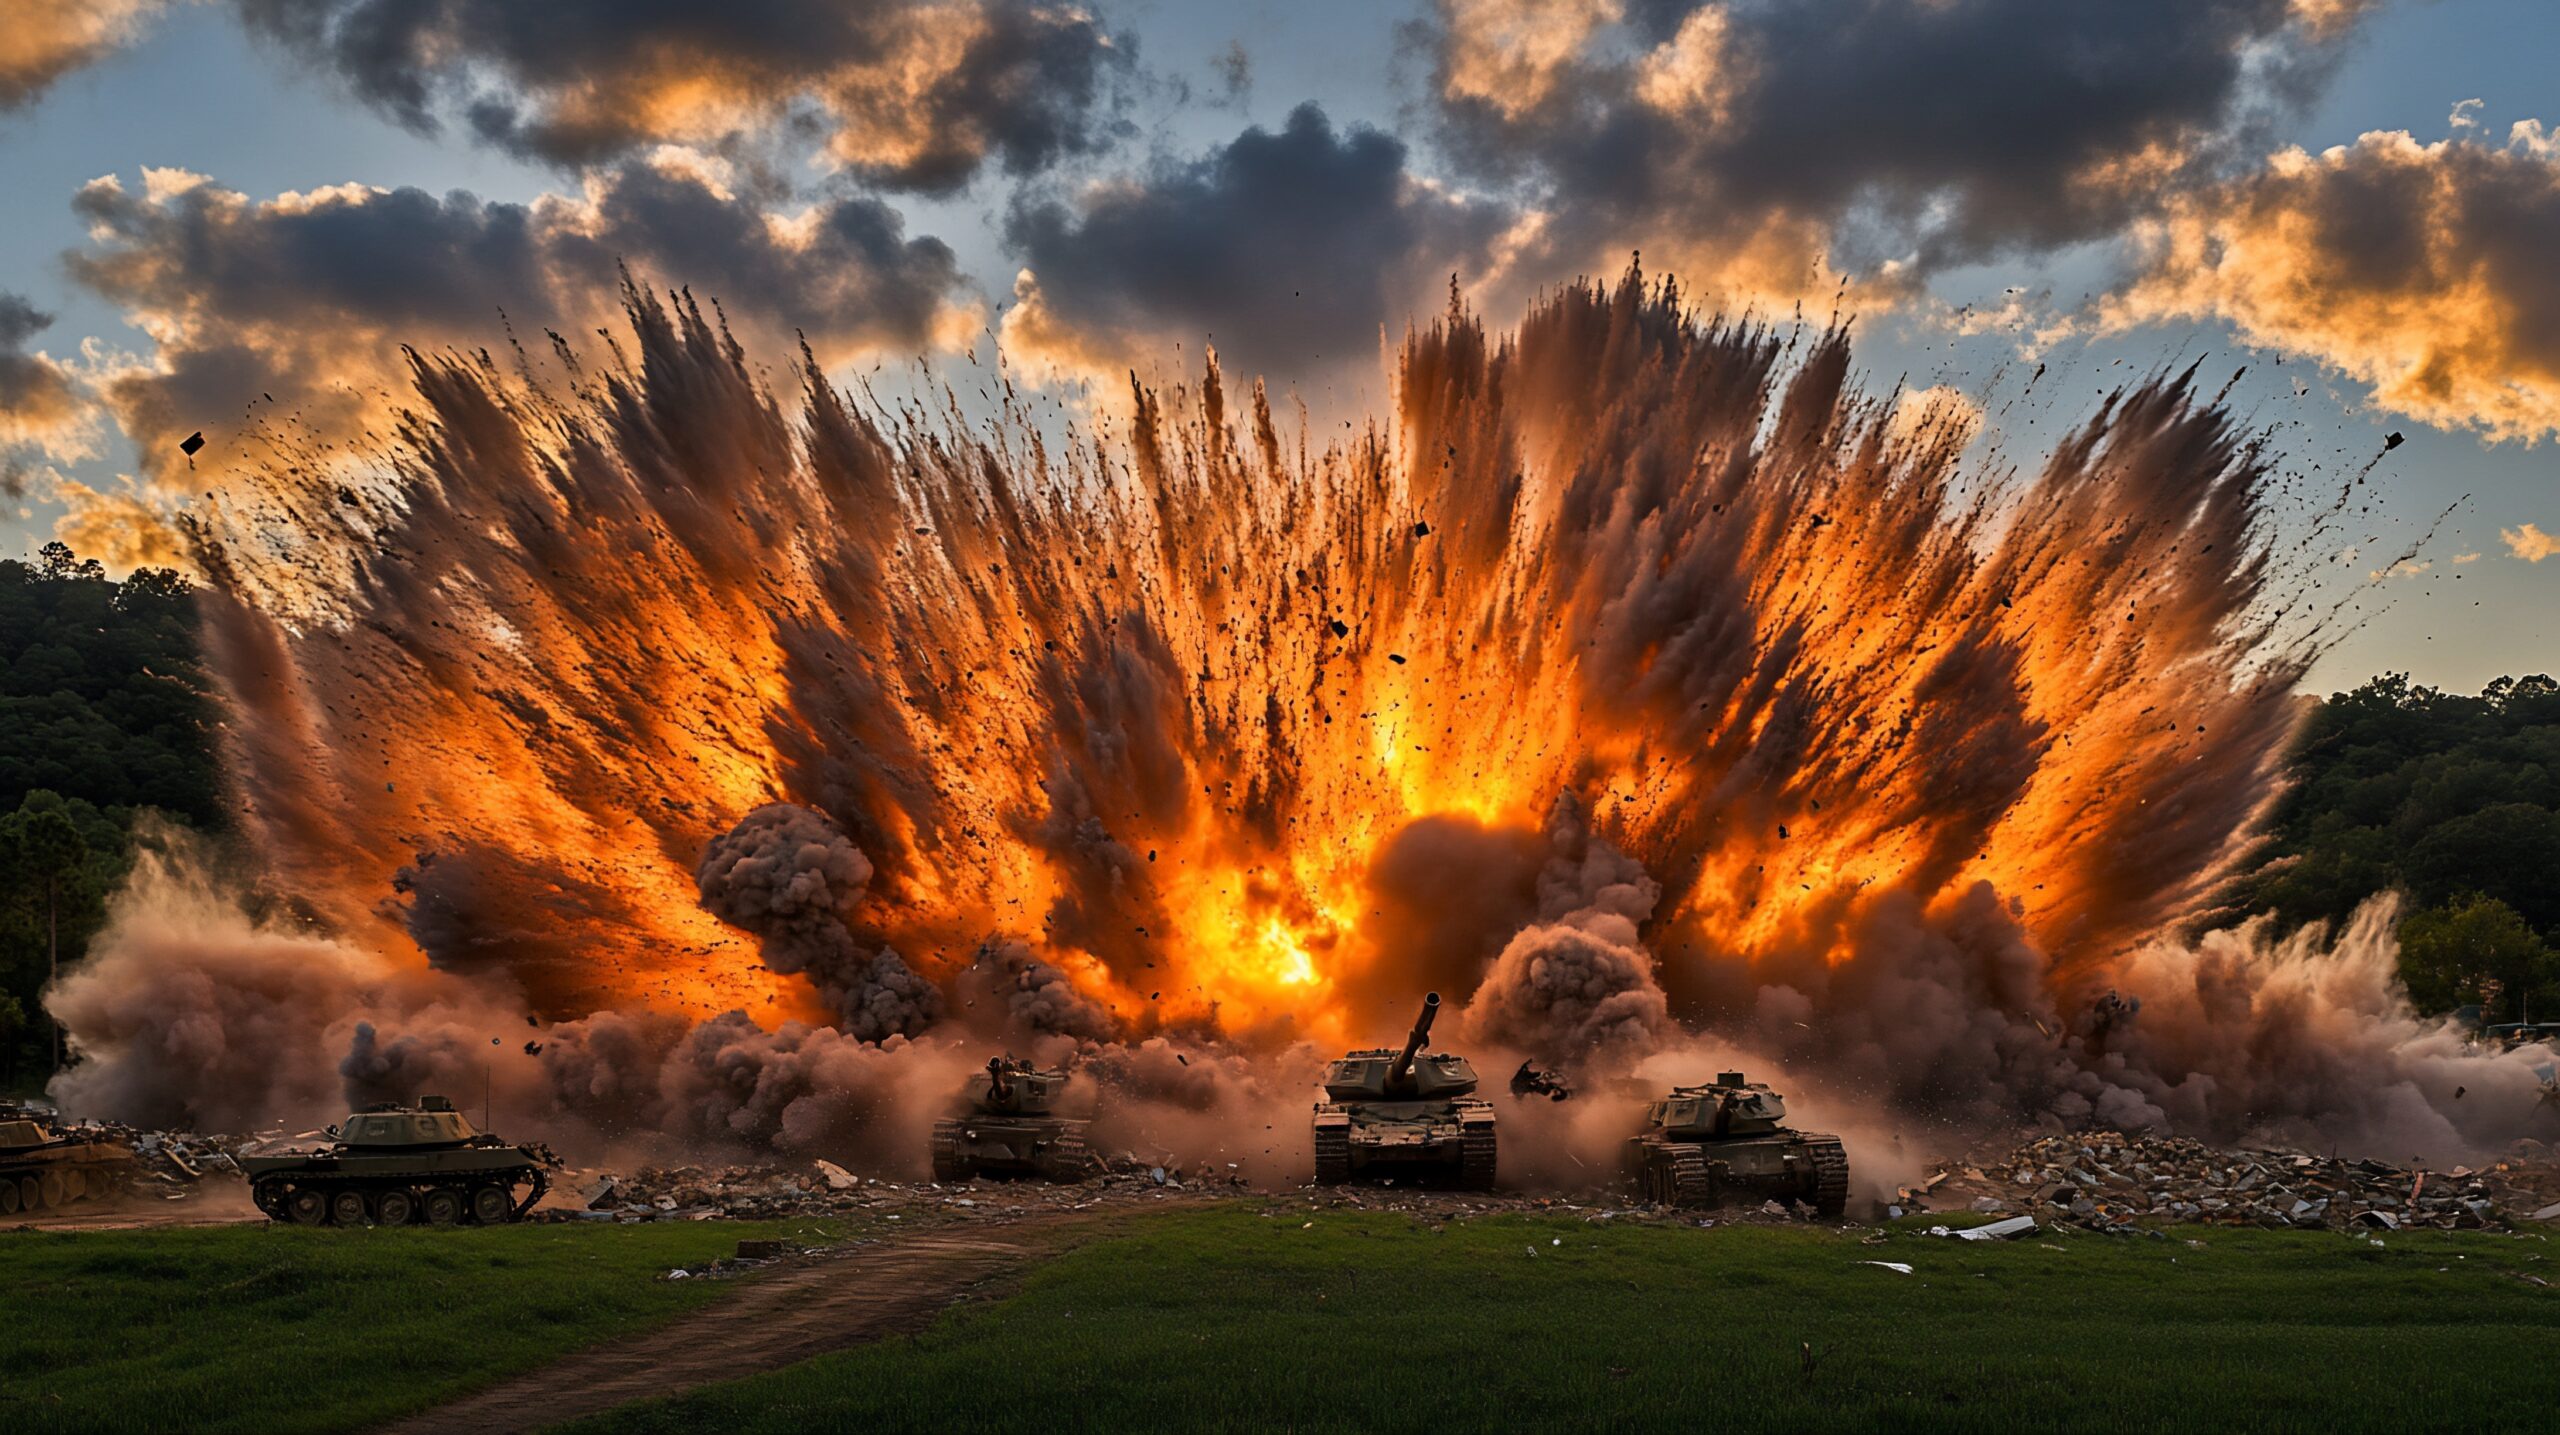
The hammer-and-anvil tactic is not a revolutionary new invention, but in the abstracted, fast-paced environment of Alpha Strike, it is one of the most efficient means of beating superior firepower through superior movement. It requires discipline in the movement phase and the courage to deliberately expose heavy units to fire in order to buy victory.
Good luck in the next battle.
Example army list
Here is a worked out example army list (mercenary company) optimized specifically for the tactics described in the article. It is set in the Late Succession Wars (ca. 3025).
The list is designed to be in the range of 350 to 400 points (PV) when using standard pilots (skill 4). For 500-point games, the pilot values (skill) can simply be improved.
Example army list: “Iron Fist Mercenary Company”
- Total PV (Skill 4): approx. 394 PV
- Era: Succession Wars (3025)
- Tech: Inner Sphere
This company demonstrates the hammer-and-anvil principle in its purest form: an immovable wall of steel and a highly mobile task force.
Lance 1: The Anvil (Battle Lance)
Very immobile core. These mechs park on targets, draw fire and punish any opponent who reveals themselves.
| Unit | Role | PV (Skill 4) | Tactical task |
|---|---|---|---|
| Atlas AS7-D | Juggernaut | 52 | The rock in the surf. With armor (A) 10 and structure (S) 8, he is almost indestructible. He draws fire to himself (“Distracting”). |
| Awesome AWS-8Q | Sniper | 39 | The classic “zombie mech”. 3 PPCs mean constant damage at long range (3/3/3), without ammo worries. |
| Archer ARC-2R | Missile Boat | 39 | Fires indirectly (IF2) from cover behind the Atlas to knock down enemies before they have line of sight. |
| Warhammer WHM-6R | Brawler | 32 | The bodyguard of the anvil. Protects the Atlas from flankers and delivers solid firepower at medium range. |
Lance 2: The Hammer (Striker Lance)
Fast, agile and deadly at close range. This lance never moves straight ahead, but always over the flanks.
| Unit | Role | PV (Skill 4) | Tactical task |
|---|---|---|---|
| Grasshopper GHR-5H | Skirmisher | 37 | The leader of the hammer. Extremely tough for a knight (A:7, S:6) and perfect for chasing infantry or light mechs. |
| Wolverine WVR-6M | Skirmisher | 32 | Good mobility (10 “j). |
| Griffin GRF-1N | Sniper | 31 | Can change positions quickly thanks to jump jets (10 “j) and provides fire support while the others close. |
| Phoenix Hawk PXH-1 | Skirmisher | 2 | The hunter. Extremely mobile (12 “j). Its task is to jump into the enemy’s back (+1 damage). |
Lance 3: The Reserve / Flex (Cavalry Lance)
This unit fills gaps. If the anvil falters, they reinforce the line. If the hammer breaks through, they follow up.
| Unit | Role | PV (Skill 4) | Tactical task |
|---|---|---|---|
| Thunderbolt TDR-5S | Brawler | 36 | A mini anvil. Can hold a flank on his own if necessary. Solid all-round values. |
| Centurion CN9-A | Brawler | 28 | Favorable damage output at medium range. Works well with the Thunderbolt. |
| Hunchback HBK-4G | Juggernaut | 28 | The psychological weapon. Nobody wants to ignore a Hunchback at close range (AC/20). Forces the opponent to make evasive movements. |
| Jenner JR7-D | Striker | 26 | The Scout. Finds targets for the Archer and can finish off damaged enemies (Ground Movement 14″!). |
Upgrade options to 500 PV:
To get this list to 500 points, you should not add more mechs (this slows down the game), but improve the skills:
- Set the Atlas and Awesome to skill 2 or 3 (better hit chances are essential for high damage).
- Set the Phoenix Hawk and Wolverine to skill 3 (for the critical back shots).
How to play this list:
- Turn 1-2: The Anvil (Lance 1) marches to the center of the mission objective. The Archer uses his IF ability. The Hammer (Lance 2) sprints over the side with the most cover (forest/buildings). The reserve (Lance 3) remains slightly back between the two to react to fast enemy advances.
- Round 3: The opponent will try to bypass the Atlas. This is the moment for the Hunchback and Thunderbolt from the reserve to close the gap.
- Finale: As soon as the opponent is tied up in close combat with the anvil, the Hammer Lance jumps into the back. The Phoenix Hawk and the Grasshopper should target overheated or damaged enemies here.
Transparency notice on the use of AI (in accordance with the EU AI Act):
The content of this blog is personally conceived, researched and defined by me. I use generative artificial intelligence to help me formulate and structure the texts.
Why? This enables me to prepare complex issues more precisely and to focus fully on the quality of the content and research. The final editorial control and responsibility for all published content lies solely with me.
Together for better content!
This blog is a project of the heart that can only continue to grow with your help. Every comment, every recommendation – and especially your financial support – secures the future of this platform.
Do you want this content to remain freely accessible?
This is how you can support the mission:
- NEWSLETTER REGISTRATION: Become part of the fast-growing community and never miss an update again!
- BECOME A PATREON MEMBER: Join the inner circle and get access to exclusive material and early releases.
- OTHER SUPPORT: Whether it’s a donation, sharing a post or recommending the blog to others – every form of support counts!
Let’s make this blog an even better place together!


