Alpha Strike Tactics: Understanding the power of unit roles
Chapter 1 The importance of unit roles
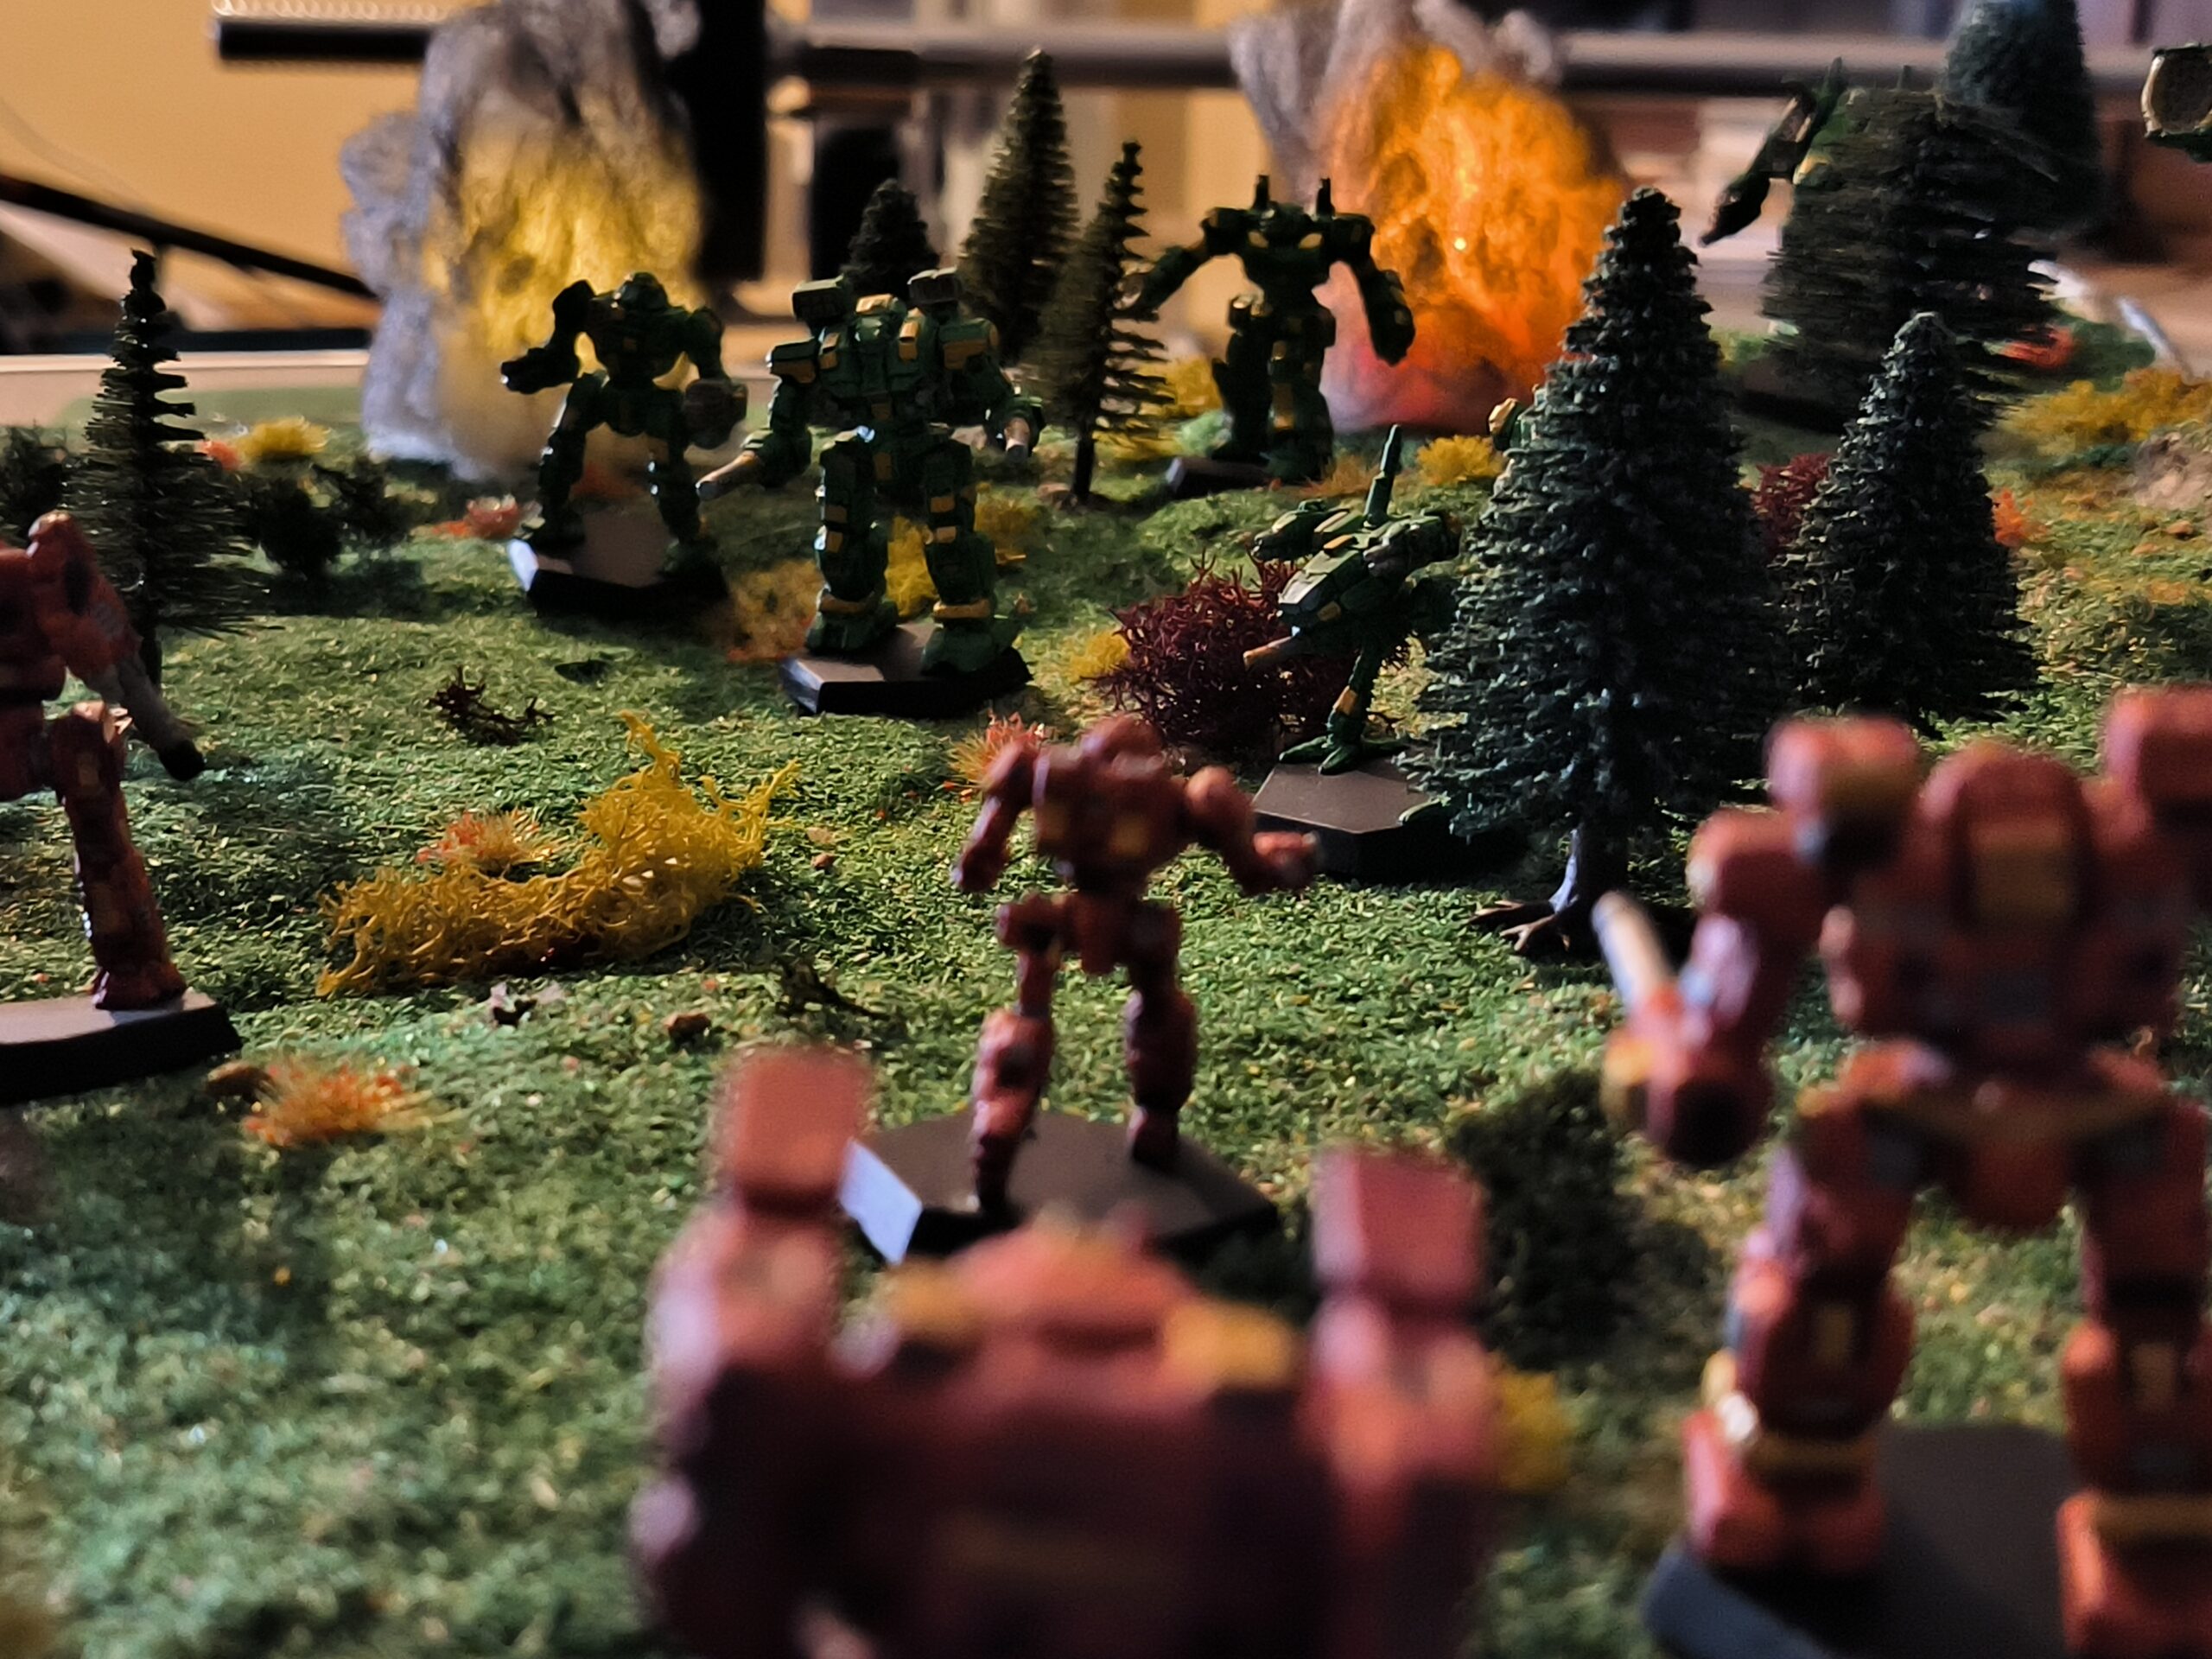
Unlike classic BattleTech, Alpha Strike focuses on quick decisions and strategic maneuvers with entire units, so-called lances. But to truly dominate the battlefield, it is not enough to simply assemble the most powerful mechs. The true key to success lies in a deep understanding and skillful use of unit roles. Each unit in Alpha Strike, be it a light scout mech or a heavy juggernaut, is designed for a specific task. This specialization allows you to deploy your troops optimally, exploit the enemy’s weaknesses and maximize your own strengths.
This guide dives deep into the seven core roles – Juggernaut, Scout, Sniper, Striker, Skirmisher, Brawler and Missile Boat – and shows you how to not only understand them, but how to use them masterfully on the battlefield. Prepare to take your tactical skills to a new level and overwhelm your opponents with precisely planned ‘Alpha Strikes’.
1.1 Why are unit roles important?
Unit roles are the backbone of any successful strategy in Alpha Strike. They provide a framework to quickly grasp a unit’s strengths and weaknesses and determine its optimal use on the battlefield. Without a clear understanding of roles, players would often try to use every mech for every task, leading to inefficient tactics and wasted resources.
A scout trying to hold a front line or a juggernaut hunting enemy snipers will quickly fail. By understanding the roles of your mechs, you can set up your lance to provide a balanced set of abilities that can respond to different threats and take advantage of opportunities. It also allows you to recognize the roles of enemy units and develop targeted counter-strategies. A well thought-out role distribution transforms a collection of mechs into a coherent fighting force.
1.2 Overview of the seven most important unit roles
In this article, we will focus on seven fundamental unit roles that form the backbone of many Alpha Strike Lances:
- The Juggernaut is the immovable bulwark that absorbs damage and holds positions.
- The scout is the fast reconnaissance unit that gathers information and threatens enemy flanks.
- The sniper is the precise long-range fighter who takes out critical targets from a safe distance.
- The Striker is the fast attacker who exploits gaps in the enemy’s defense.
- The Skirmisher is the flexible fighter who operates at medium range and can reposition himself quickly.
- The Brawler is the close combat specialist who dominates in a direct exchange of blows.
- And the Missile Boatis the area damage expert, raining down volleys of projectiles on the enemy.
Each of these roles has unique strengths and weaknesses, which we will examine in detail in the following chapters.
Chapter 2 Holding the front line: Juggernaut and Brawler in detail
In the turmoil of the Alpha Strike battlefield, every lance needs units that can stand firm, fend off the enemy onslaught and deal massive damage at the same time. This is where the Juggernaut and Brawler come into play. These two roles often form the backbone of a battle group and are crucial to holding the front line or breaking through enemy formations.
The Juggernaut is the definition of resilience – a bulwark of steel and armor designed to absorb hundreds of tons of gunfire while posing an unmissable threat.
The Brawler , on the other hand, is the close combat specialist who relentlessly charges into the opponent to inflict devastating damage in a direct exchange of blows.
Both roles require a deep understanding of their strengths and weaknesses, as well as an intimate knowledge of their tactical capabilities to be fully effective. In this chapter, we will examine these Alpha Strike heavyweights in detail and outline strategies on how you can best utilize them to dominate the battlefield.
2.1 The Juggernaut: bulwark and threat
The Juggernaut is the ultimate tank on the battlefield. Its primary role is to absorb damage and attract the enemy’s attention while posing a serious threat. Typical Juggernauts have high armor and structure stats and often have special abilities that further increase their survivability. Their movement rates are usually low, but their firepower at short and medium range is often considerable. A Juggernaut is ideally placed in the center of the formation or where the enemy’s main line of attack is expected. It serves as an anchor point around which the rest of the lance can move. Its presence can force the enemy to waste valuable shots on it, while your other units have free rein to attack key targets. Examples are the Atlas, King Crab or Annihilator.
2.2 The Brawler: melee specialist
Where the Juggernaut holds its ground, the Brawler charges ahead. These units are designed to get into close combat quickly and inflict devastating damage. Brawlers often have high attack values at close range and can have abilities such as ‘Melee’ that increase their melee damage. Their movement rates are usually moderate to high in order to quickly bridge the distance to the opponent. The Brawler is most effective when focusing on single enemy units that it can quickly take out before they retreat or receive support. They are excellent ‘closer’ units that can end the game as soon as they are in range. However, Brawlers are often vulnerable to medium and long range fire as they approach the target. Examples are the Banshee, BattleMaster or Hunchback.
2.3 Synergies and counter-strategies
The combination of Juggernaut and Brawler can be extremely potent. A Juggernaut can draw attention to itself and clear the way for a following Brawler, which can then charge into close combat undisturbed. Alternatively, a Brawler can deliver the first blow and then maneuver the Juggernaut into a flanking position. Counter strategies against these roles often focus on restricting their movement or dealing with them from a distance before they reach their effective range.
Snipers and missile boats are particularly useful here. Focusing damage on a unit to take it out quickly can also be effective before it can play its full role. Terrain that blocks lines of sight or makes movement difficult can also be used to reduce their effectiveness.
Chapter 3 Precision and area damage: The Sniper and Missile Boat unit roles
While Juggernauts and Brawlers form the heart of close combat, other units dominate the battlefield from afar. Snipers and Missile Boats are the masters of ranged combat in BattleTech Alpha Strike, each with their own approach to keeping the enemy at a distance and decimating them.
The Sniper is the surgeon of the battlefield – precise, deadly and capable of taking out critical targets with well-aimed shots from long range. Its strength lies in its ability to control the battle before the enemy even gets within range.
The Missile Boat, on the other hand, is the artilleryman, covering entire areas with volleys of missiles and causing continuous, widespread damage that puts pressure on the enemy formation and restricts their freedom of movement. Both roles require careful positioning and a deep understanding of line of sight and range. In this chapter, we’ll explore the intricacies of these ranged specialists and show you how to use them to wear down the enemy from a distance and control the battlefield without getting in the line of fire yourself.
3.1 The sniper: master of the long shot
The Sniper is the embodiment of ‘range is power’. These units are characterized by high attack strengths at medium and long range. Their task is to eliminate or at least severely damage important enemy targets – such as other ranged fighters, Scouts or even downed Brawlers – from a safe distance. A good sniper will position themselves in elevated positions or behind cover to maintain lines of sight while being hard to hit themselves. However, they are often more fragile than frontline mechs and must be carefully protected from fast flankers. The strength of a sniper lies not only in the damage it inflicts, but also in the psychological effect it has on the enemy, who know that their units may be under constant fire. Examples are the Highlander, Marauder or Rifleman.
3.2 The Missile Boat: volleys of destruction
The Missile Boat is the specialist for area damage and constant fire. These units are characterized by high attack strengths at medium and long range, often with ‘IF’ (Indirect Fire) capability that allows them to fire over obstacles. Their task is to shower the enemy with a hail of missiles to decimate armor, force critical hits and undermine morale. Missile Boats are great for breaking through enemy screening units or slowly wearing down heavily armored targets. They are most effective when they can fire from a safe yet effective range, often behind other, more robust units. However, they are vulnerable when engaged in close combat and their ammunition can be limited. Examples are the Archer, Longbow or Catapult.
3.3 Dominate the ranged battle
To dominate long-range combat, a clever combination and positioning of Snipers and Missile Boats is crucial. A Sniper can take out critical threats that could attack the Missile Boat, while the Missile Boat softens enemy armor with area damage, which the Sniper can then take out with precision. An effective strategy is to place the ranged fighters on elevated positions or behind heavy terrain to maximize their lines of sight while providing cover (sniper/sniper tactics). Protection by Juggernauts or Skirmishers is also important to prevent fast enemy units from getting into close combat. Counter strategies include quickly taking out ranged fighters with fast strikers or scouts, blocking lines of sight or forcing a melee in which these units are outmatched. The use of ‘ECM’ (Electronic Countermeasures) can also reduce their effectiveness.
Chapter 4 Fast, agile and deadly: Scout, Striker and Skirmisher
While the heavy mechs hold the front lines and the ranged fighters strike from a distance, it is the agile and fast units that shape the battlefield, gather information and carry out decisive flanking attacks.
Scout, Striker and Skirmisher are the workhorses of mobile warfare in BattleTech Alpha Strike. The Scout is the eyes and ears of your lance, moving quickly to conduct reconnaissance, secure mission objectives and disrupt enemy flanks.
The Striker is the precise, fast attacker who exploits gaps in the defense to deliver quick, deadly strikes against isolated or vulnerable targets.
Finally, the Skirmisher is the flexible all-rounder that dances on the edge of battle, dealing damage while remaining elusive. Their mobility is their greatest weapon, allowing them to quickly reposition, evade threats and outflank their opponent.
In this chapter, we will examine these fast and deadly roles in detail and show you how to use their agility and speed to confuse the enemy, break up their formations and claim victory.
4.1 The scout: reconnaissance and pinpricks
The Scout is the fastest unit in your Lance and its main task is to scout and disrupt the enemy. Scouts have extremely high movement rates and often have abilities such as ‘ECM’ (Electronic Countermeasures) or ‘Probe’, which help them to gather information or reduce the effectiveness of enemy attacks.
They are not made for direct combat, but can be decisive with quick pinpricks or securing mission objectives. A Scout should always keep moving to be hard to hit and force enemy units to waste valuable shots on him. They can also be used to tie up or flank enemy ranged fighters. Their weakness is their low armor and firepower. Examples are the Locust, Commando or Raven.
4.2 The striker: the precise stroke
The Striker is the fast attacker who exploits gaps in the enemy’s defenses to deliver quick, precise strikes. Strikers have high movement rates and often good firepower at medium range, sometimes with abilities such as ‘JumpJets’ for better movement options. Their job is to quickly attack vulnerable or isolated enemy units, inflicting maximum damage, and then scramble back to safety. They are excellent at performing flanking maneuvers or swooping down on targets that have already been hit. A Striker should not be involved in prolonged firefights, as their armor is often only moderate. The key to a Striker’s success is timing – he must strike at the right moment and then disappear again. Examples are the Wolverine, Shadow Hawk or Griffin (e.g. Griffin GRF-4R).
4.3 The skirmisher: dancing on a knife’s edge
The Skirmisher is the flexible all-rounder among the fast units. It operates on the fringes of the battle, deals damage and is hard to catch at the same time. Skirmishers have good movement rates and balanced firepower at short and medium range.
They often have abilities that improve their survivability through increased mobility. The Skirmisher’s unit roles are to apply constant pressure on the enemy without putting themselves in too much danger. They can dance around enemy front lines, threaten flanks and cleverly use cover to minimize damage. A Skirmisher is an excellent ‘feeder’ unit, dealing continuous damage and forcing the enemy to react to it. However, they are not as robust as Brawlers or Juggernauts. Examples are the Phoenix Hawk, Blackjack or Centurion.
4.4 The art of maneuverability
The combination of Scout, Striker and Skirmisher requires a high degree of maneuverability. A Scout can scout the target and clear the way for a Striker to launch a quick attack. Meanwhile, a Skirmisher can maintain pressure on other enemy units.
Effective tactics include constantly moving to make it difficult for the enemy to aim, utilizing terrain for cover, and quickly switching targets to confuse the enemy. Counter strategies focus on restricting their movement (e.g. through terrain or area denial abilities), tying them down with melee units or taking them out with accurate long-range sniper fire before they get into effective range.
Chapter 5 The perfect lance: combining roles for victory
Now that we’ve learned about the individual unit roles – Juggernaut, Scout, Sniper, Striker, Skirmisher, Brawler and Missile Boat – in detail, it’s time to put this knowledge into practice. The true master of Alpha Strike realizes that the strength of a lance lies not only in the individual abilities of its mechs, but in the intelligent combination of these roles.
A perfectly tuned lance is more than the sum of its parts; it is a coherent fighting unit capable of responding to any challenge the enemy throws at it.
In this final chapter, we’ll focus on how to assemble a lance that is both balanced and tailored to specific mission objectives and opponents. I’ll show you how to synergize between roles, cover weaknesses, and use advanced tactics to outsmart your opponents and secure victory. From basic balance to adapting to the meta, you’ll learn how to masterfully orchestrate your unit roles.
5.1 Balance of unit roles is the key
A balanced lance is able to react to different threats and fulfill different tasks. It should ideally contain a mix of frontline units (Juggernaut, Brawler), ranged units (Sniper, Missile Boat) and mobile units (Scout, Striker, Skirmisher). For example, a typical 4-mech lance could consist of a Juggernaut (to hold the line), a Sniper (for long-range support), a Striker (for fast attacks) and a Skirmisher (for flexibility and flanking). The aim is to have no obvious weak points that the opponent can easily exploit. A lance consisting only of Juggernauts would be too slow to accomplish mission objectives, while a pure Scout lance would be too fragile to withstand combat damage. Balance means having the right tools at hand for each phase of the game – recon, attack, defense.
5.2 Example lances for different scenarios
Optimized lances can be put together for specific scenarios thanks to the unit roles. An ‘Alpha Strike Lance’ could consist of a Juggernaut, a Brawler and two Strikers, designed to get into close combat quickly and overwhelm the enemy.
A ‘Fire Support Lance’ could include a Juggernaut for protection, a Sniper and two Missile Boats for maximum ranged damage.
For objective-based scenarios where the aim is to secure points, a ‘Recon Lance’ with a Scout, two Skirmishers and a Striker would be ideal for quickly achieving mission objectives while engaging threats. It is important to know the mission objectives before assembling the lance and adjust the unit roles accordingly.
5.3 Adapting to the opponent
An experienced commander adapts his lance not only to the scenario, but also to the expected opponent. If you know that your opponent uses a lot of fast, light mechs, the unit roles Brawler and Skirmisher could be a good choice to intercept them and tie them up in close combat.
Against a lance with many heavy Juggernauts and Brawlers, Snipers and Missile Boats would be more effective to wear them down from a distance before they reach their effective range. Scouts can be used to reconnoiter the enemy lineup and uncover weak spots before the battle begins.
The ‘counter-picking’ of roles can give you a decisive advantage. However, it requires a deep understanding of your opponent’s strengths and weaknesses as well as your own abilities.
5.4 Advanced role tactics
Beyond the basic composition, there are advanced tactics that maximize the interaction of the roles. Baiting is a tactic where a robust Juggernaut or Brawler is sent forward to draw enemy fire while other units (Strikers, Snipers) flank undisturbed or take out key targets.
Coordinated Fire means that multiple units focus on the same enemy to quickly eliminate it before it can do any damage. Area Denial by Missile Boats or Brawlers can force the enemy to take detours or move into unfavorable positions.
The ‘hammer and anvil’ tactic combines a Juggernaut as an ‘anvil’, which binds the opponent, and a Striker or Brawler as a ‘hammer’, which strikes from a flank. These tactics require precise movement and timing.
5.5 Conclusion and outlook
We’ve taken you on a comprehensive journey through the world of unit roles in BattleTech Alpha Strike. You’ve learned how Juggernauts hold the front line, Scouts conduct reconnaissance, Snipers deliver precise strikes, Strikers strike quickly, Skirmishers act flexibly, Brawlers dominate close combat and Missile Boats deal area damage. Understanding these roles is the cornerstone of your success on the battlefield. But knowledge alone is not enough. Practice, experimentation and continuous analysis of your games are crucial to becoming a true master of Alpha Strike tactics. Don’t be afraid to try out new combinations, adapt your lances to different opponents and scenarios and keep learning. The BattleTech universe is vast and offers endless possibilities for tactical geniuses. May your Alpha Strikes always be deadly and your Lances be victorious!